To install the TOPODRONE laser scanner on a backpack, you will need the following components included in the package:
- TOPODRONE Backpack;
- Mounting aluminum bracket;
- External GNSS antenna;
- External GNSS antenna bolt;
- External GNSS antenna cable;
- Milestone 30 cm;
- USB PowerBank;
- LEMO 4 PIN power cable;
- Set of fixing screws M3x6.
Also to install the TOPODRONE laser scanner on the backpack you will need the following components, which are not included in the package:
- Hex 2.0 mm screwdriver;
- Hex 2.5 mm screwdriver.
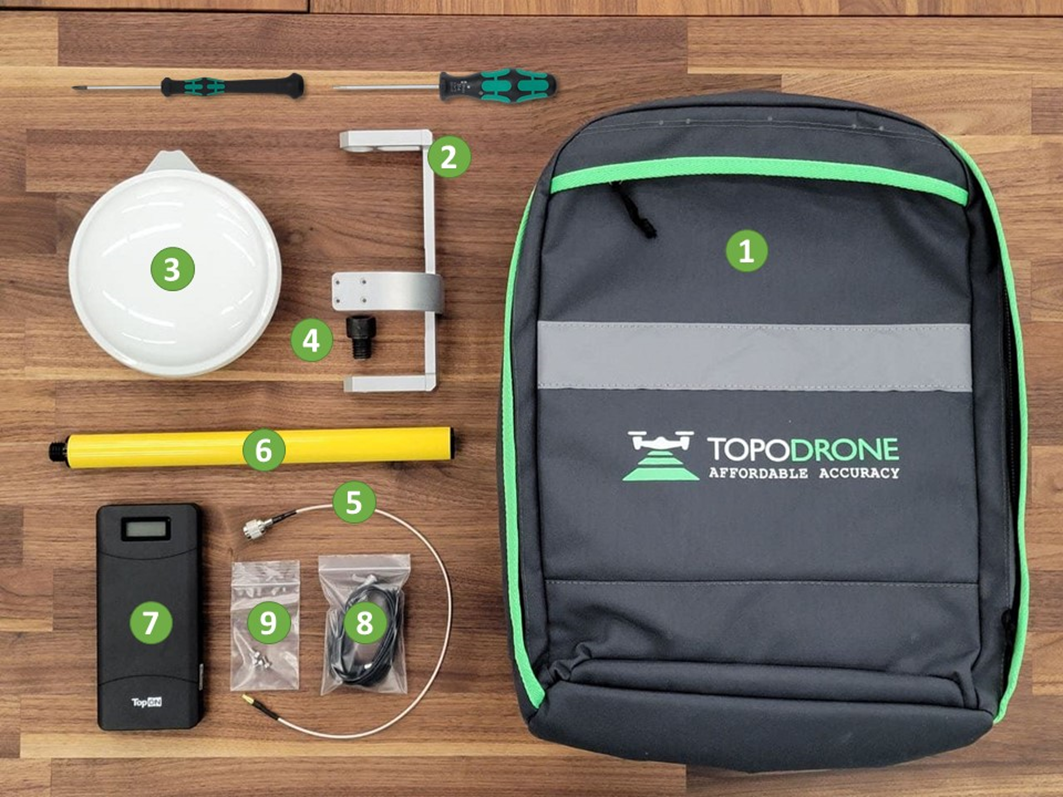
Step 1: Prepare all accessories for installing TOPODRONE Backpack as shown in the photo. Screwdrivers: Phillips, HEX 2.0 / 2.5 mm
Step 2: Take the aluminum mounting bracket and place it on the table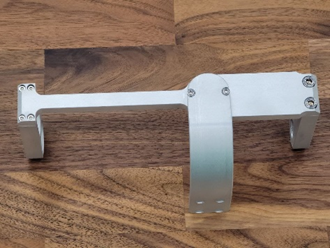 | Step 3: Remove the 4 screws using a Hex 2.0 screwdriver as shown in the photo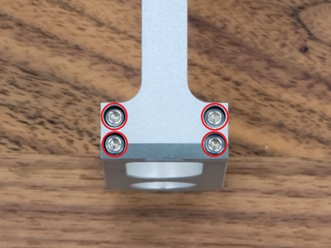 | Step 4: Remove the fastener, lay the External GNSS antenna cable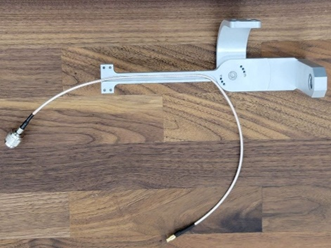 |
Step 5: Screw back the 4 screws of the fastener using a Hex 2.0 screwdriver.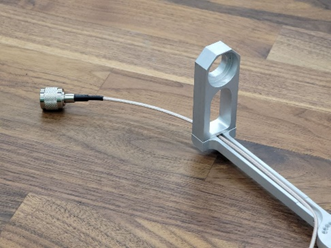 | Step 6: Mount the GNSS antenna to the aluminum mounting bracket using the bolt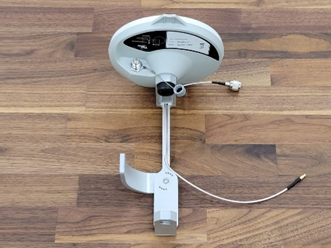 | Step 7: Screw the antenna cable into the GNSS antenna, taking care not to kink the cable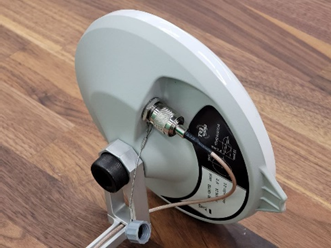 |
Step 8. Place the LiDAR on the padded base* against the mounting bracket as shown in the photo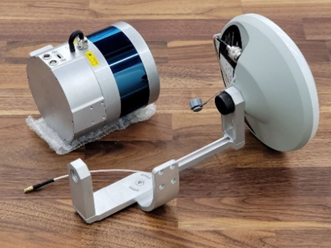 | Step 9. Using a Hex 2.5mm screwdriver, screw in the 4 M3x6 screws securing the LiDAR to the bracket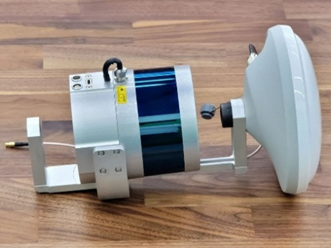 | Step 10. Connect the cable of the external GNSS antenna to the laser scanner, taking care not to bend it as shown in the photo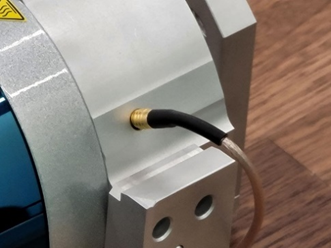 |
Step 11. Screw the milestone tightly into the aluminum bracket as shown in the photo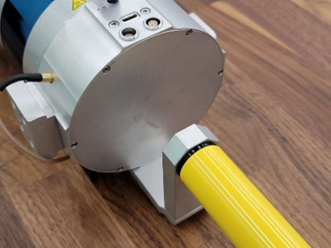 | Step 12. Screw the pole firmly onto the aluminum bracket as shown in the photo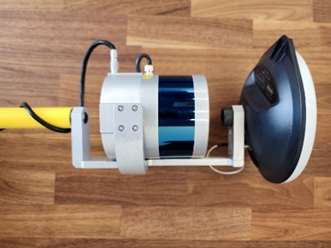 | Step 13. Mount the TOPODRONE laser scanner to the backpack as shown in the photo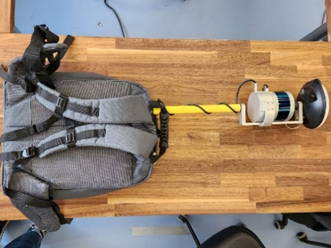 |
Step 14. Plug the Lemo 4 PIN power cable into the TOPODRONE laser scanner connector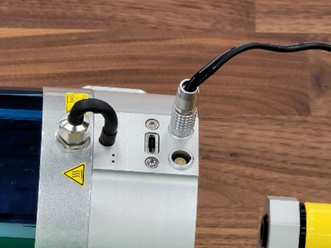 | Step 15. Connect the power cable to the USB PowerBank**, turn it on and stow it in the inside pocket of the backpack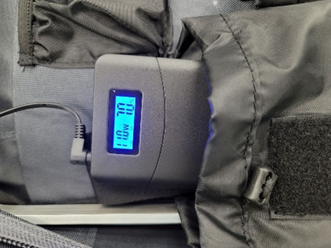 | Step 16. Excess power cable can be wrapped around the milestone if necessary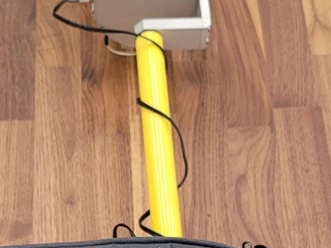 |
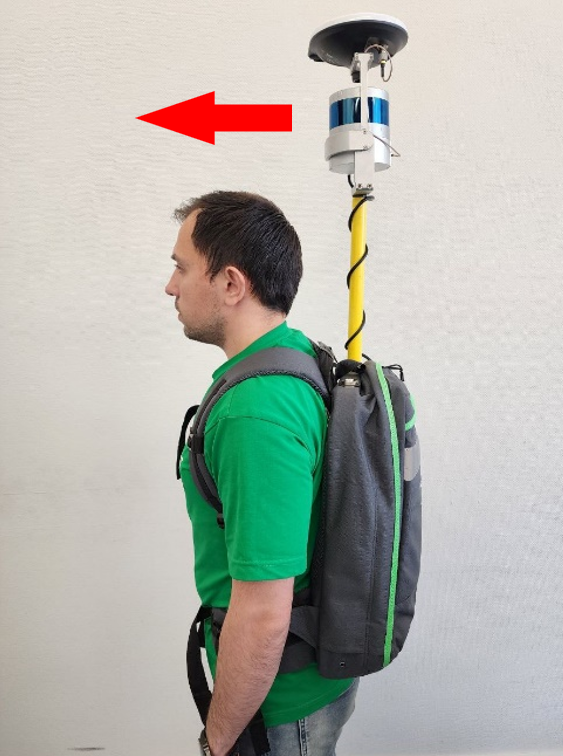 | 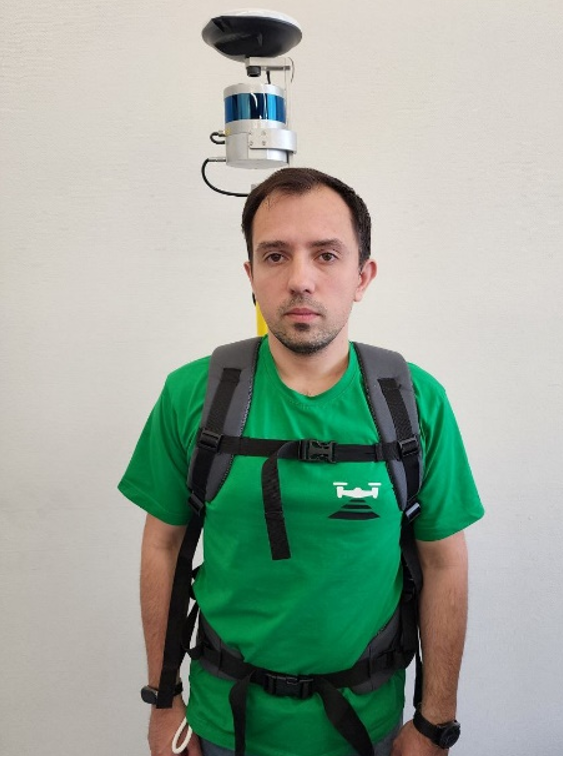 | 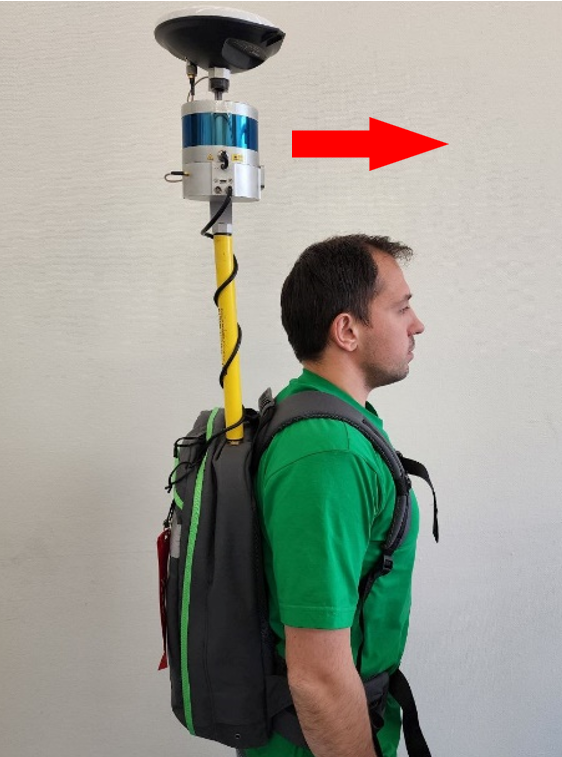 |
Step 17. Put TOPODRONE Backpack on the operator, fasten the straps, if necessary tighten / loosen the straps so that the TOPODRONE laser scanner is above the operator's head. The direction of the laser scanner should correspond to the direction in the photo.
At this point the installation of the TOPODRONE laser scanner on the backpack is complete. You can proceed to initialization, calibration maneuver “figure eight” and perform MLS.
* All operations with TOPODRONE should be performed as gently as possible to avoid damaging the sensor lens of the laser scanner
** The type of external power supply may vary.