It is recommended to install the TOPODRONE laser scanner on a clean and flat surface. After assembling the laser scanner and the mobile mount, the entire module can be mounted on the vehicle.
Step 1: Prepare Hex 2.5, Hex 4, Hex 5 screwdrivers for further assembly (not included)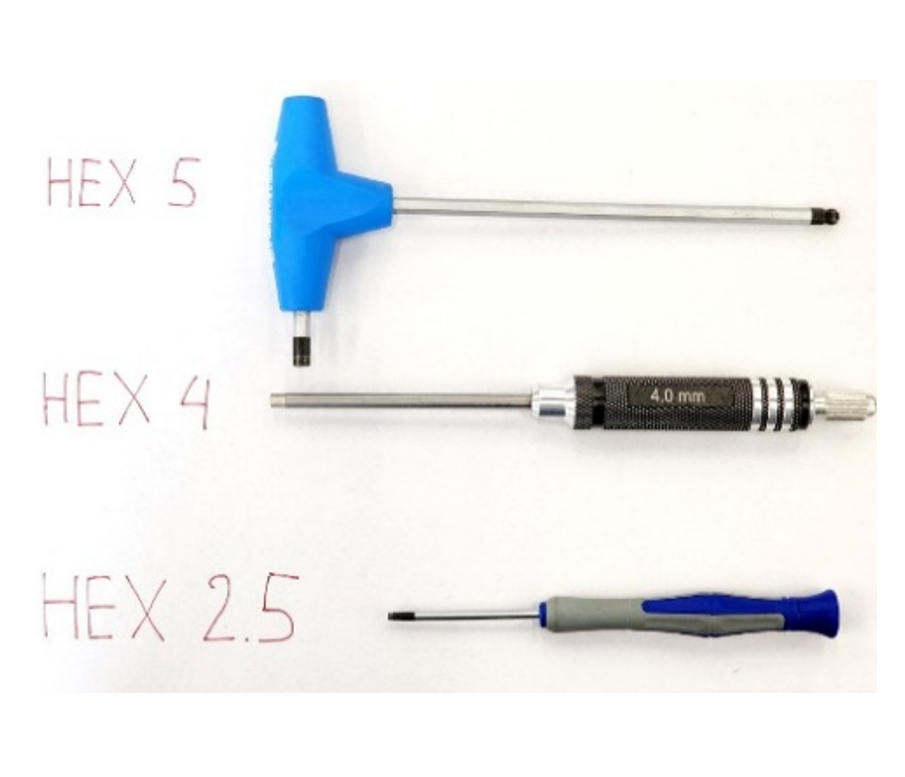 | Step 2: Prepare the TOPODRONE laser scanner and all other accessories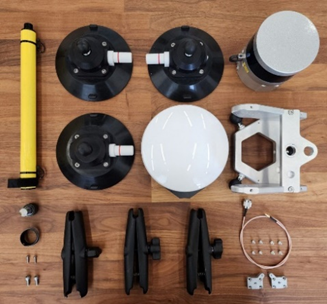 | Step 3. Take the LiDAR, two metal fasteners, 8 M3x8 screws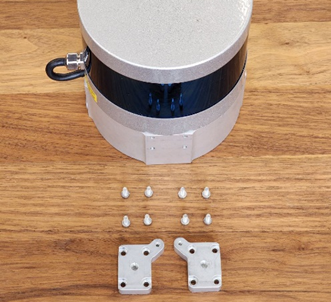 |
Step 4: Using a Hex 2.5 screwdriver, install the metal fasteners on both sides of the laser scanner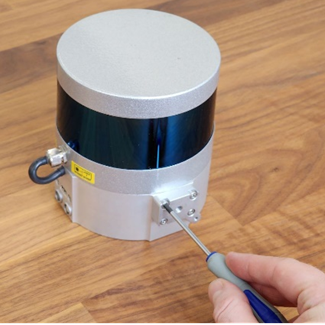 | Position the metal fasteners as shown in the illustration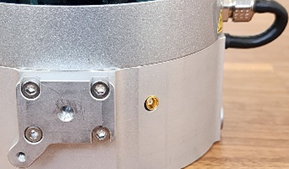 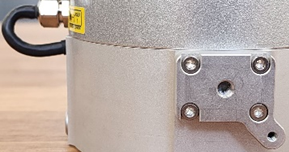 | Step 5: Prepare the laser scanner mounting bracket and M5x10 M3x10 screws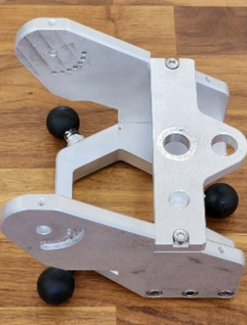 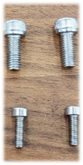 |
Step 6: Carefully place the laser scanner on top of the mounting bracket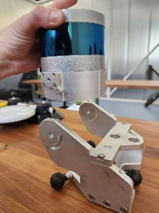 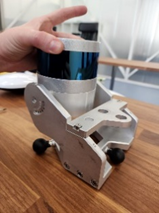 | Step 7. Tighten the M5x10 screw using a Hex 4 screwdriver as shown in the photo.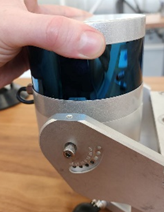 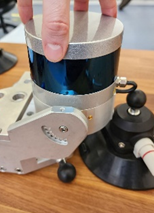 | IMPORTANT!!! Hold the TOPODRONE laser scanner body, it may tip over and damage the lens!!!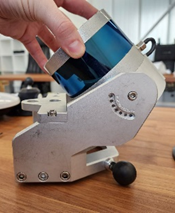 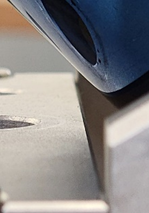 |
Step 8: Tighten the two M3x10 screws with a Hex 2.5 screwdriver on both sides of the bracket.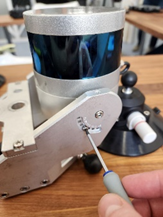 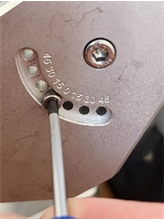 | Step 9. Tighten the bracket screws loosened in Step 5 using Hex 4 and Hex 5 screwdrivers.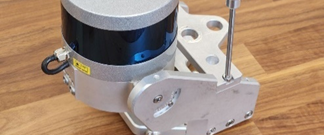  | Step 10. Prepare the pole and set screw.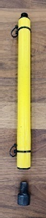 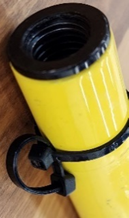  |
Step 11. Thread the machine screw through the bracket mounting hole farthest away from the LiDAR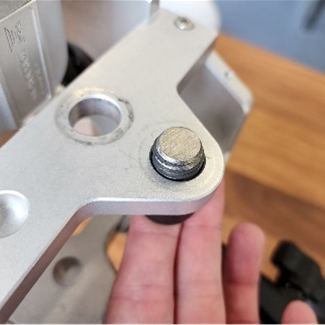 | Step 12. Screw the pole onto the Installation screw. Position the hinges on the opposite side of the LiDAR.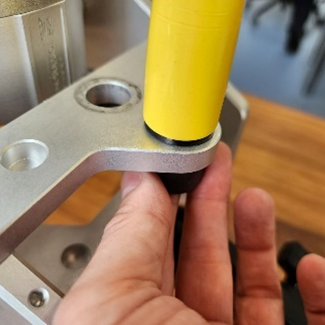 | Step 13. Screw the GNSS antenna onto the pole. Check that the antenna and Installation screw are securely fastened together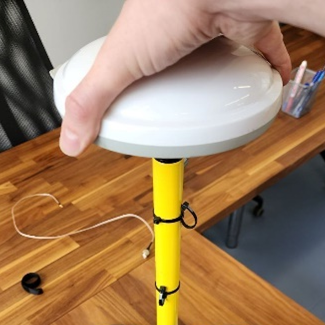 |
Note that the antenna connector should be located on the opposite side of the LiDAR as in the photo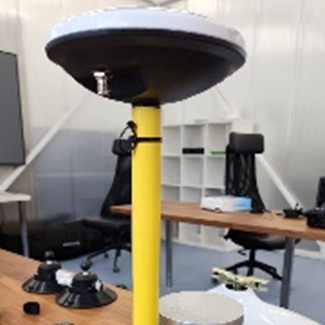 | Step 14. Insert the antenna cable connector into the GNSS antenna and screw it tightly as shown in the photo.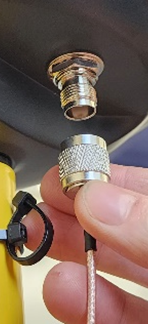 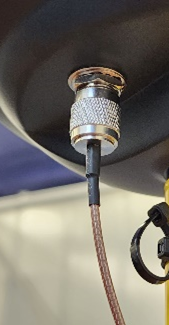 | Do not bend the antenna cable!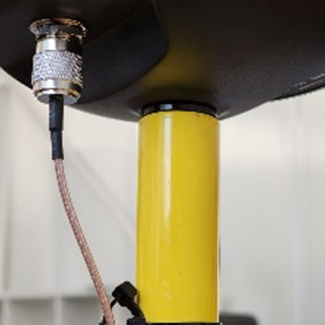 |
Secure the antenna cable to the back of the pole as shown in the photo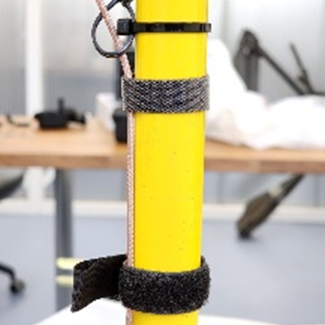 | Step 15: Secure them with wing screw 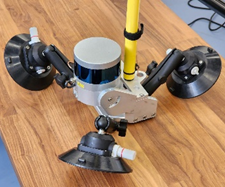 | The TOPODRONE mobile car mount is ready for use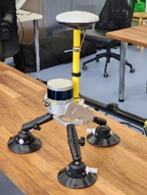 |
Assembly of the Mobile Scanning Kit
Additional equipment required for kit assembly:
- Insta 360 X4 camera;
- microSD memory card for the Insta 360 X4 camera (128 GB recommended);
- Camera mounting bracket for Insta 360 X4;
- Extended antenna cable (70-80 cm);
- Mounting screw for securing the GNSS antenna;
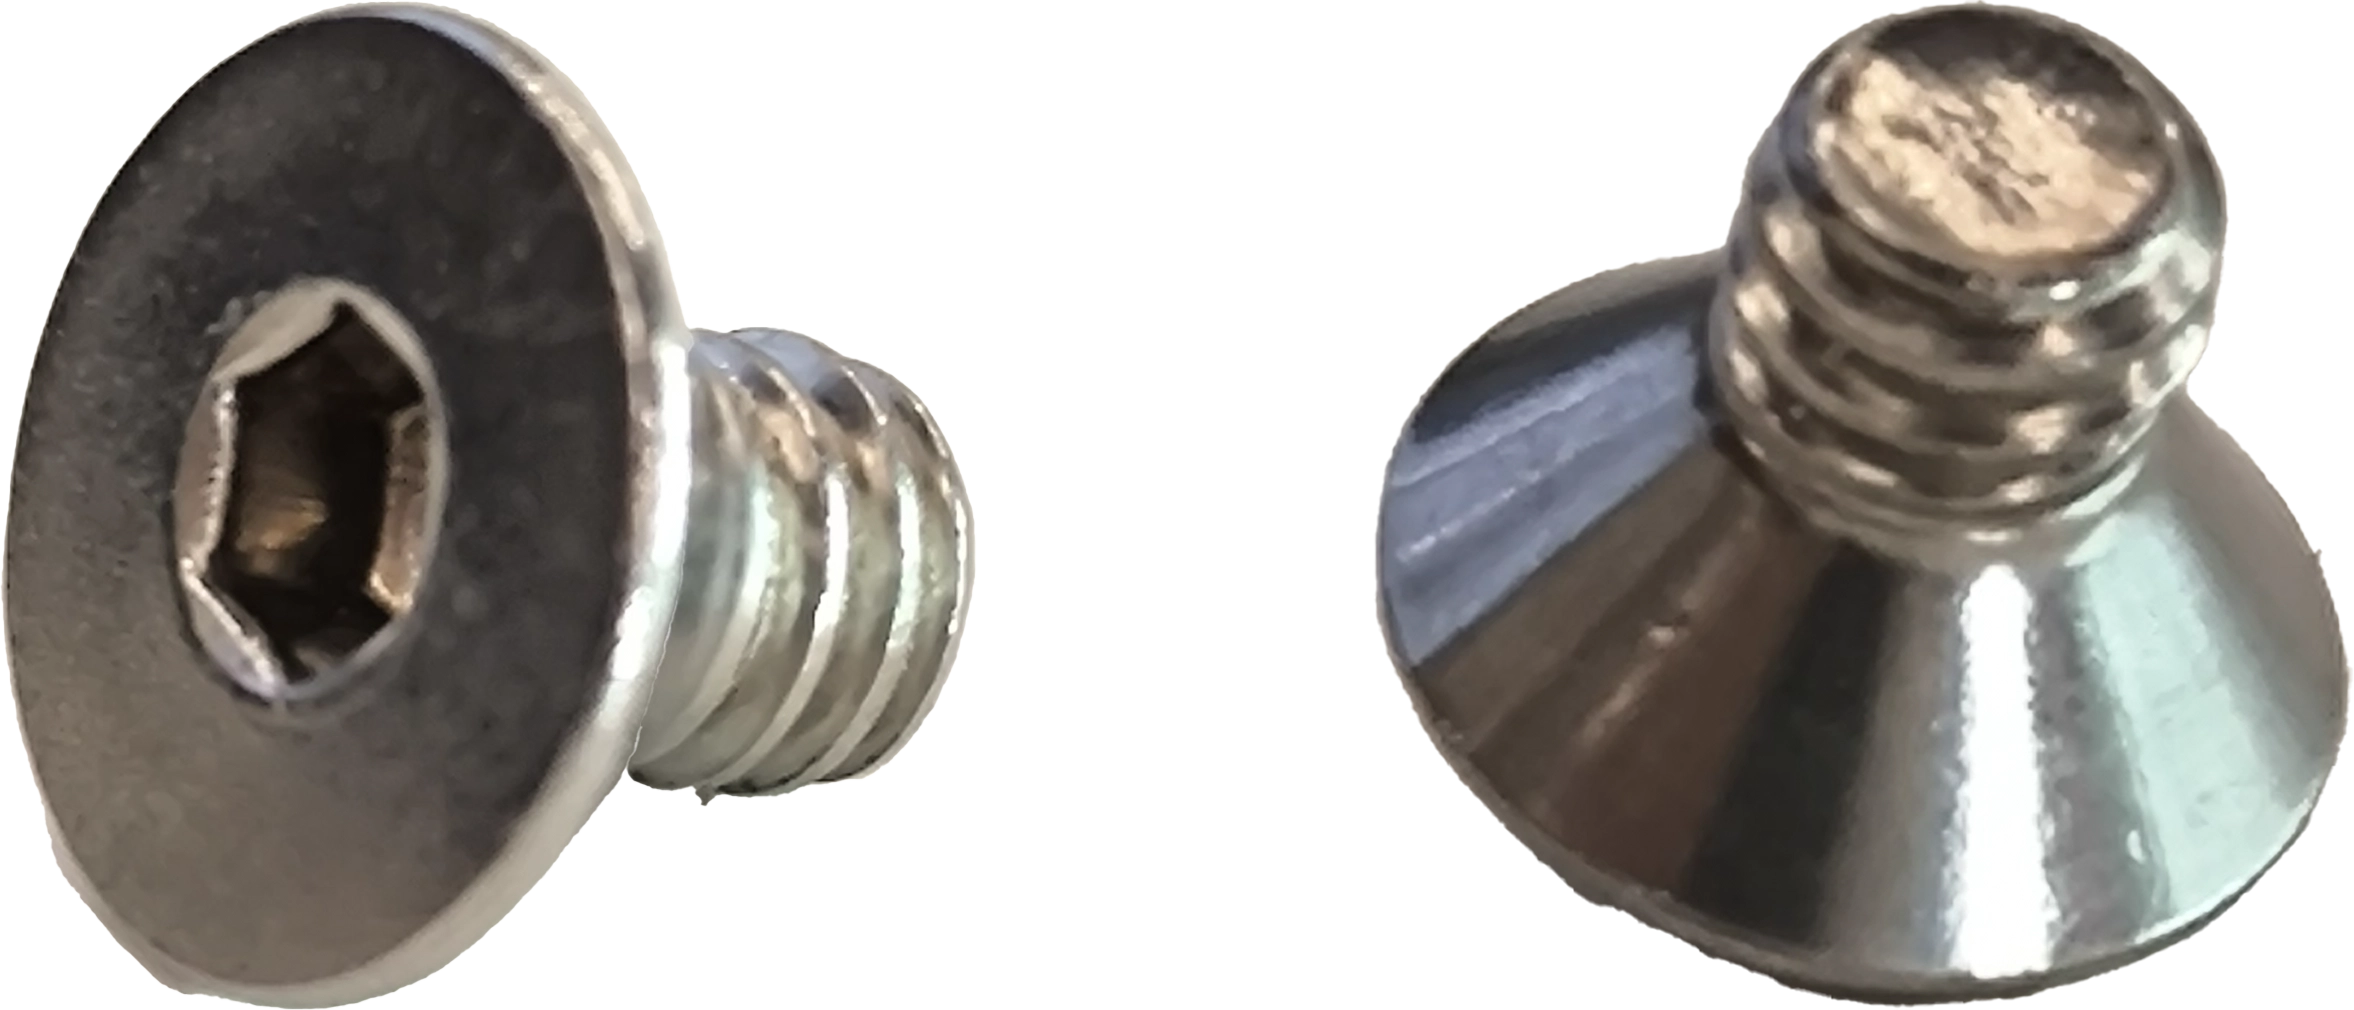
- 1/4-inch hex socket flat head screw for attaching the camera to the bracket.
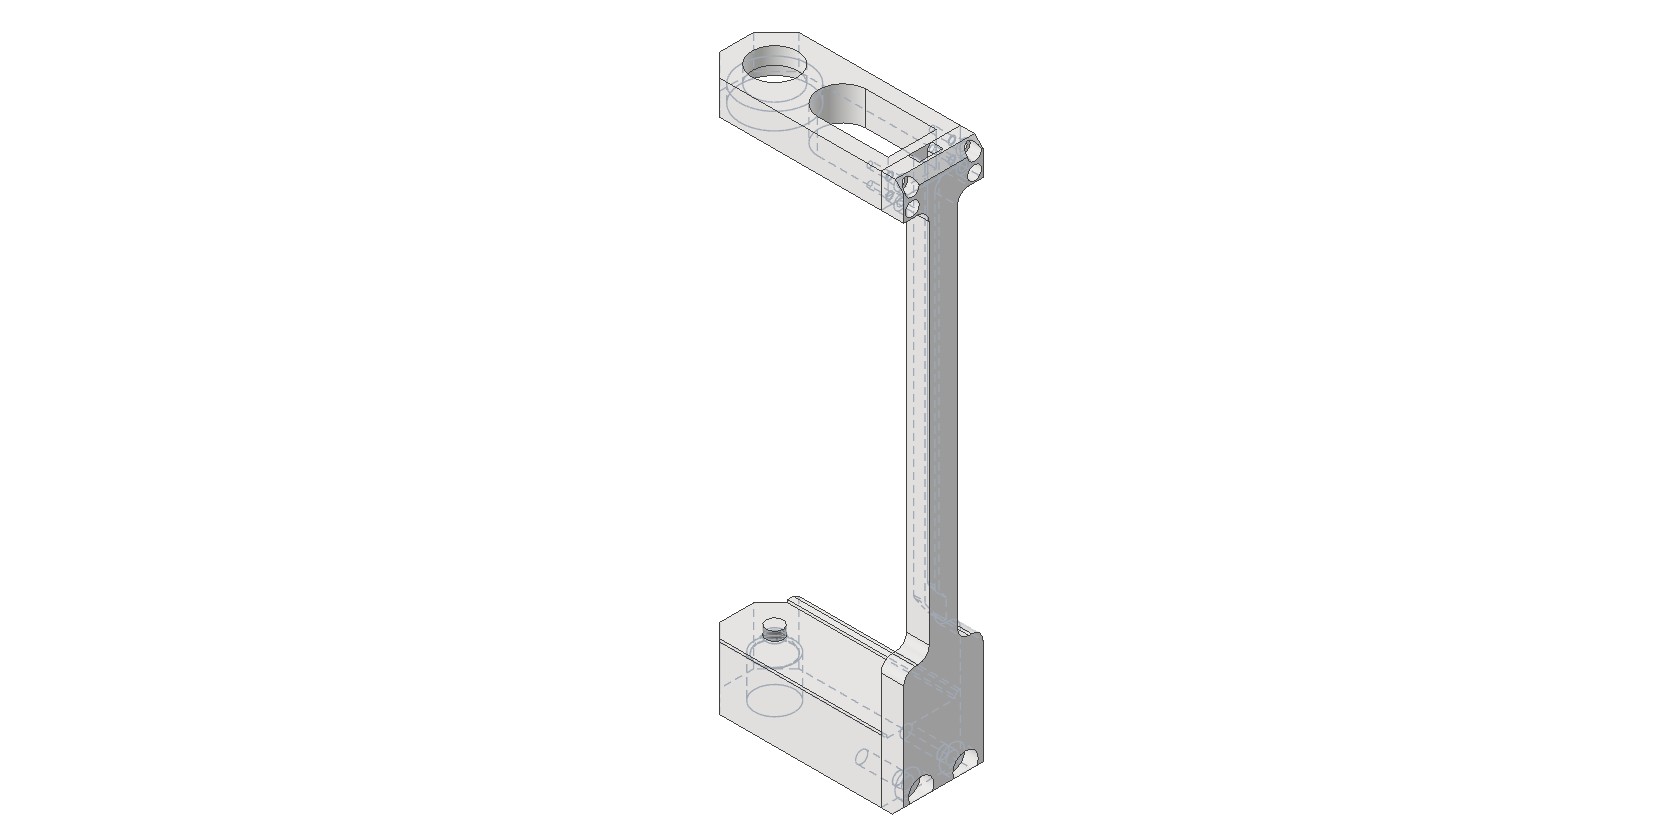
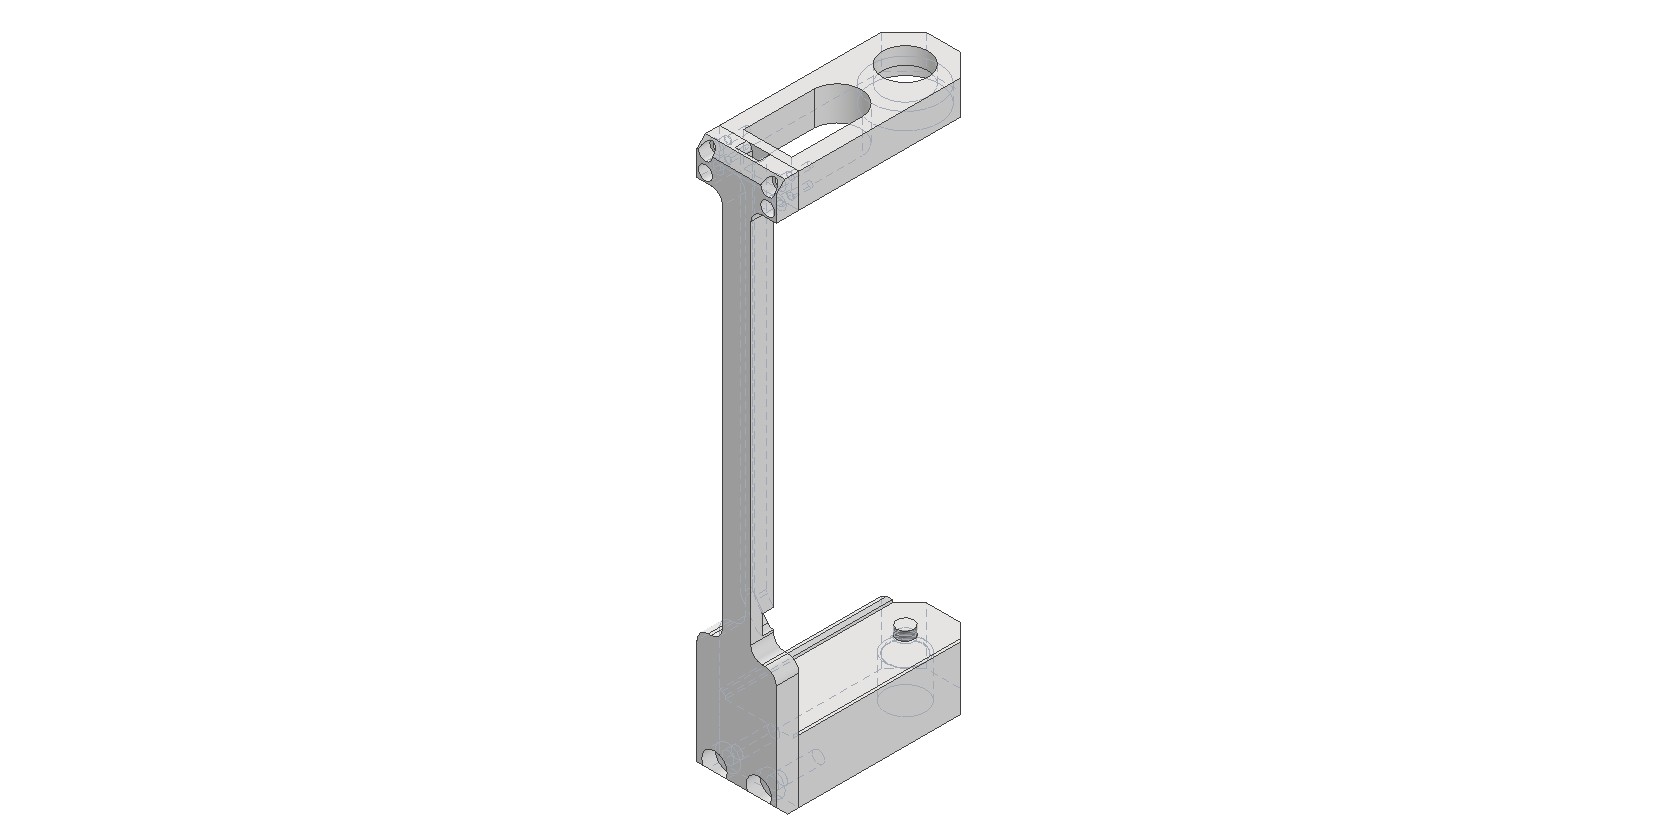
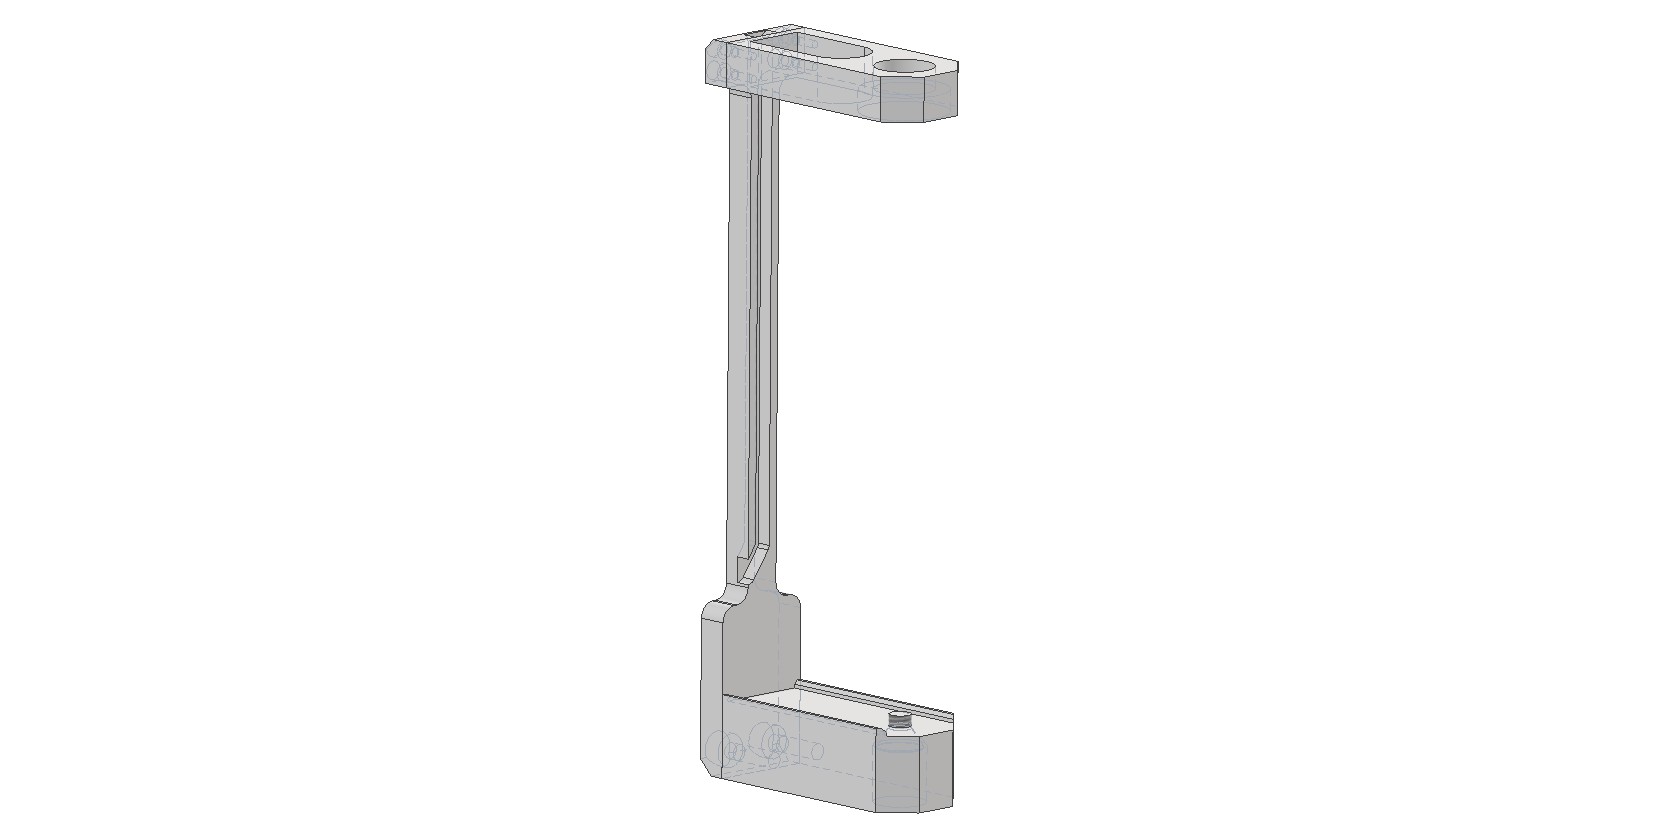
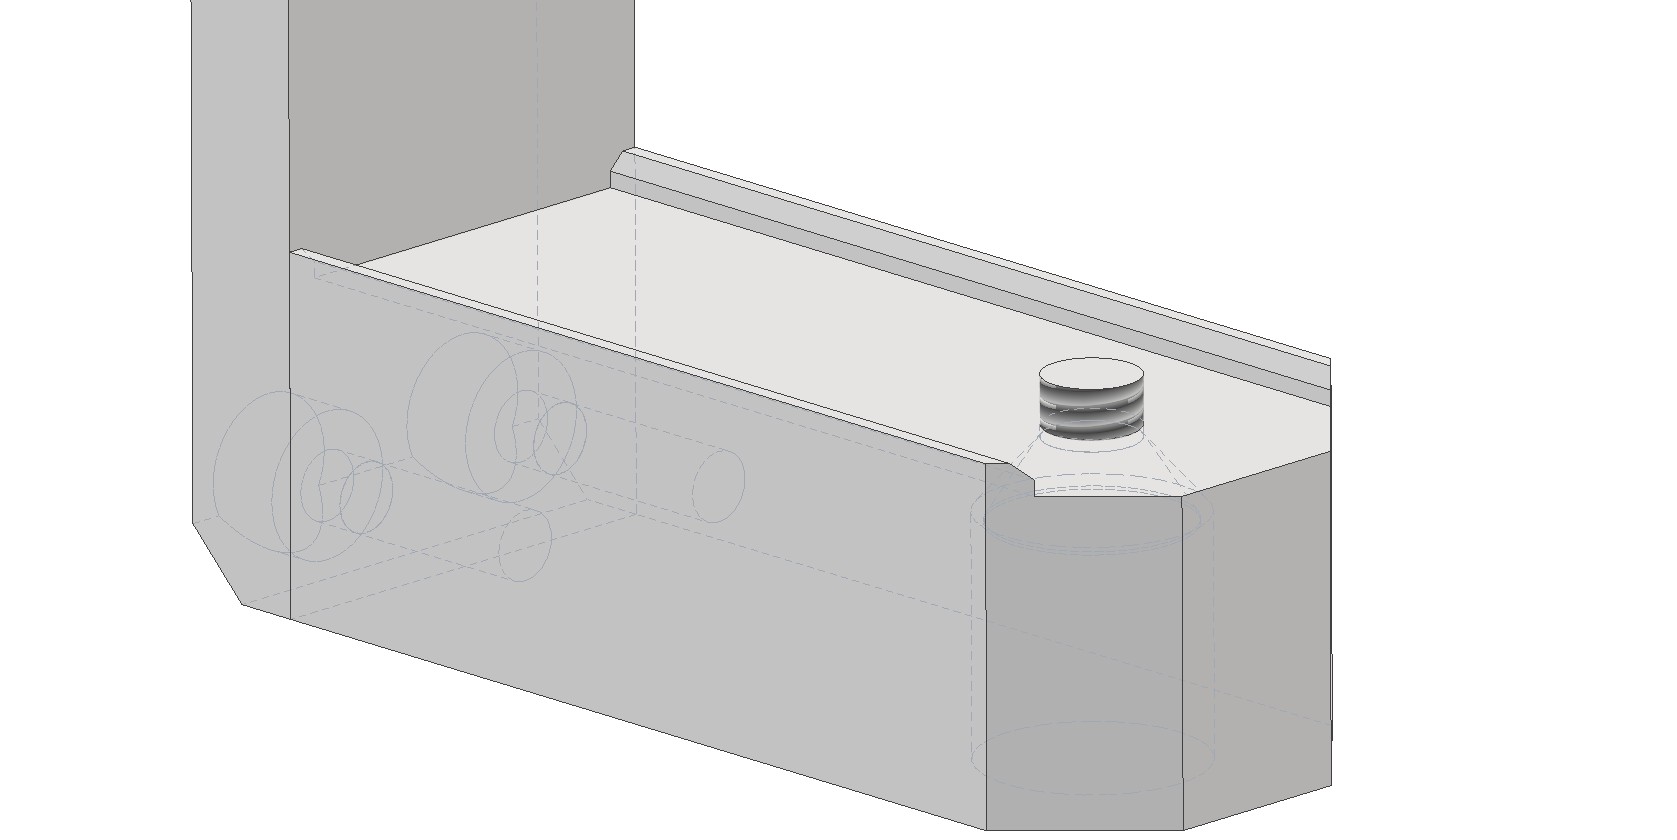
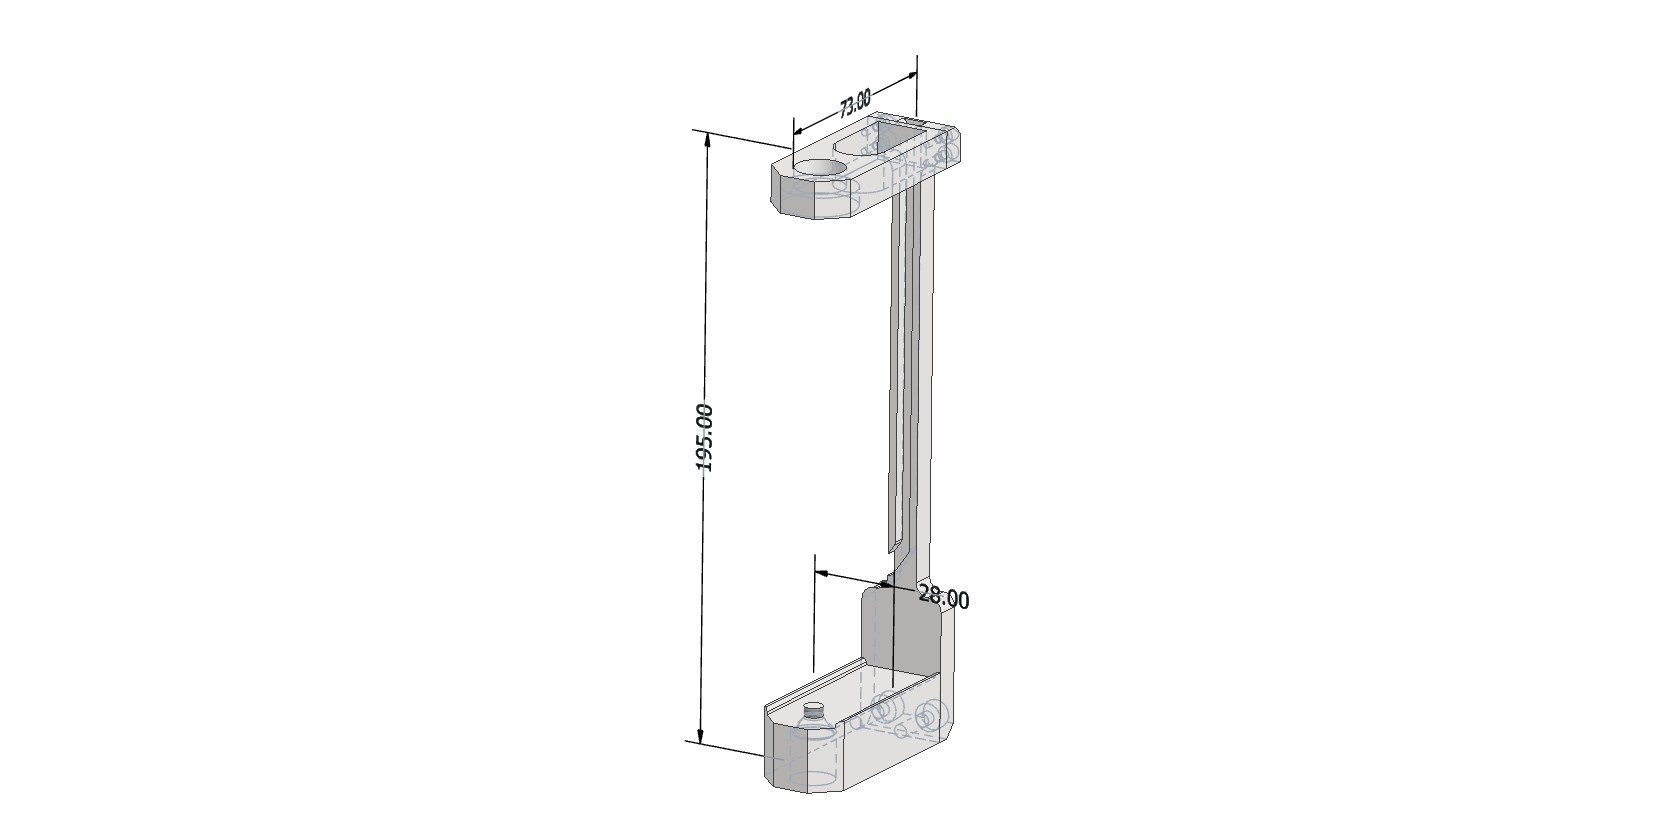
Camera Mounting Bracket Appearance
The bracket dimensions are 195×73×28 mm. The top hole is designed for the GNSS antenna mounting screw. The bottom hole is for the 1/4-inch hex socket flat head screw used to attach the camera to the bracket. The bracket is then screwed onto the pole.
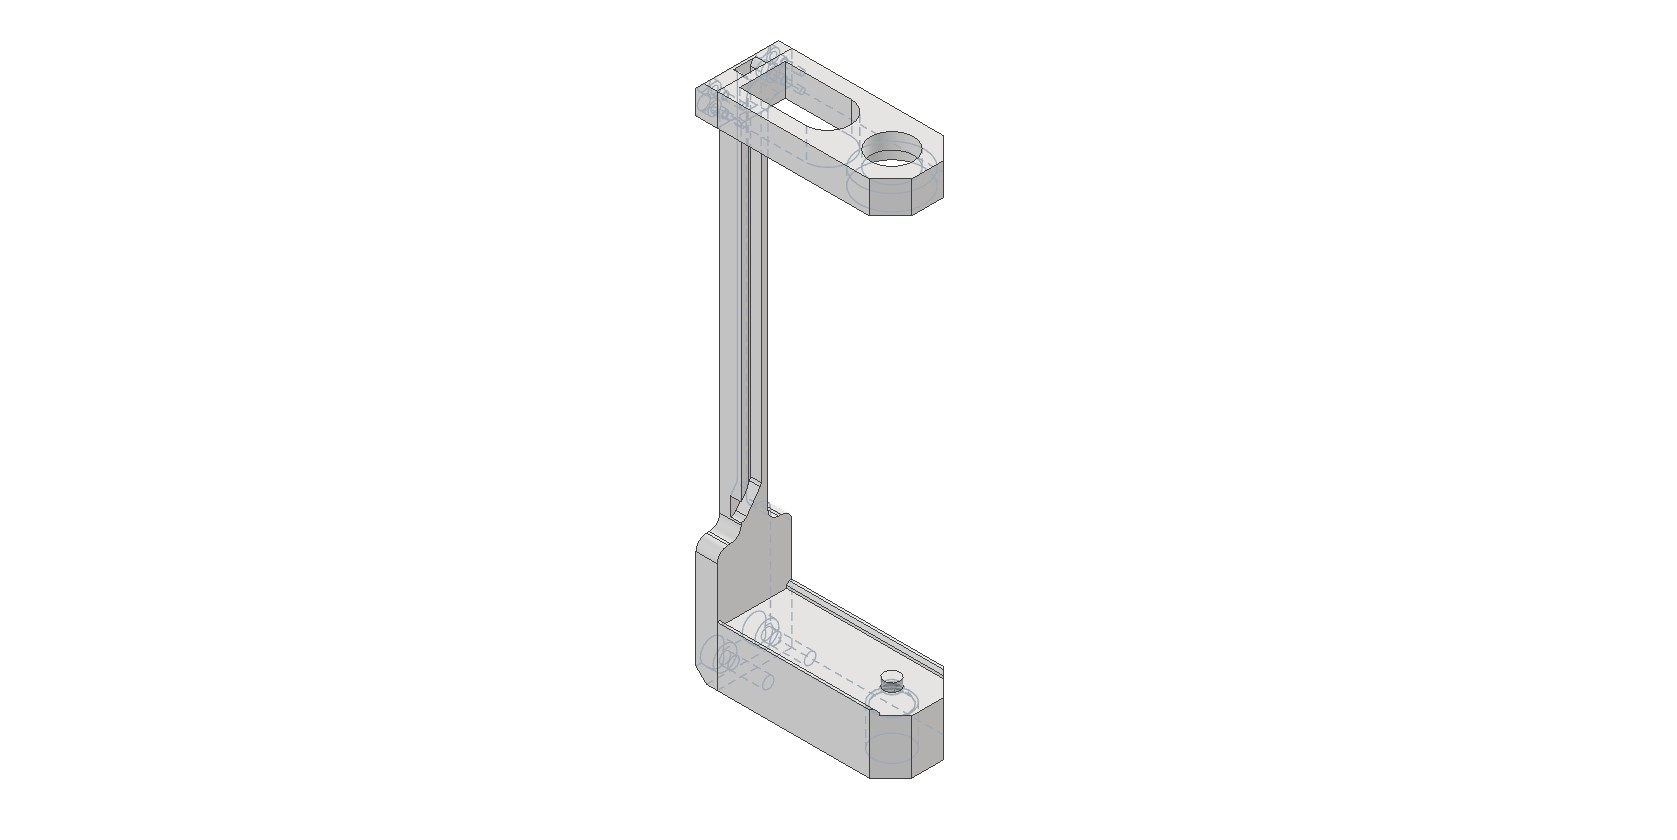
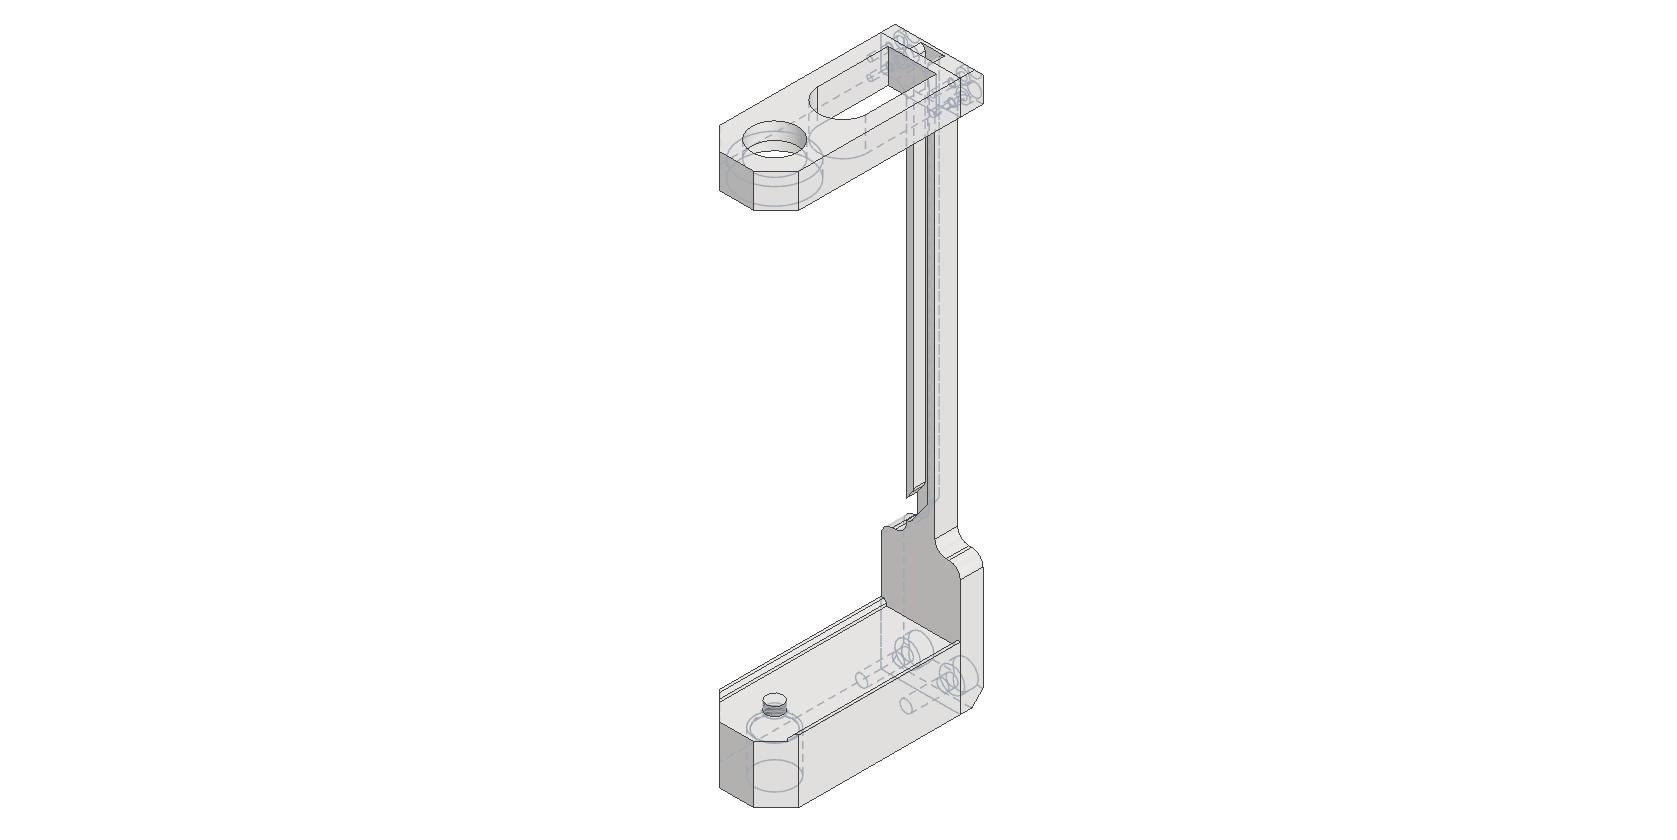
Assembly Procedure for the Insta 360 X4 Camera Shooting Kit
The kit is assembled using the standard procedure, with an additional step for camera installation. Sequence of operations:
1. Install the camera into the bracket.
- Secure the Insta 360 X4 camera in the dedicated bracket using the 1/4-inch hex socket flat head screw.
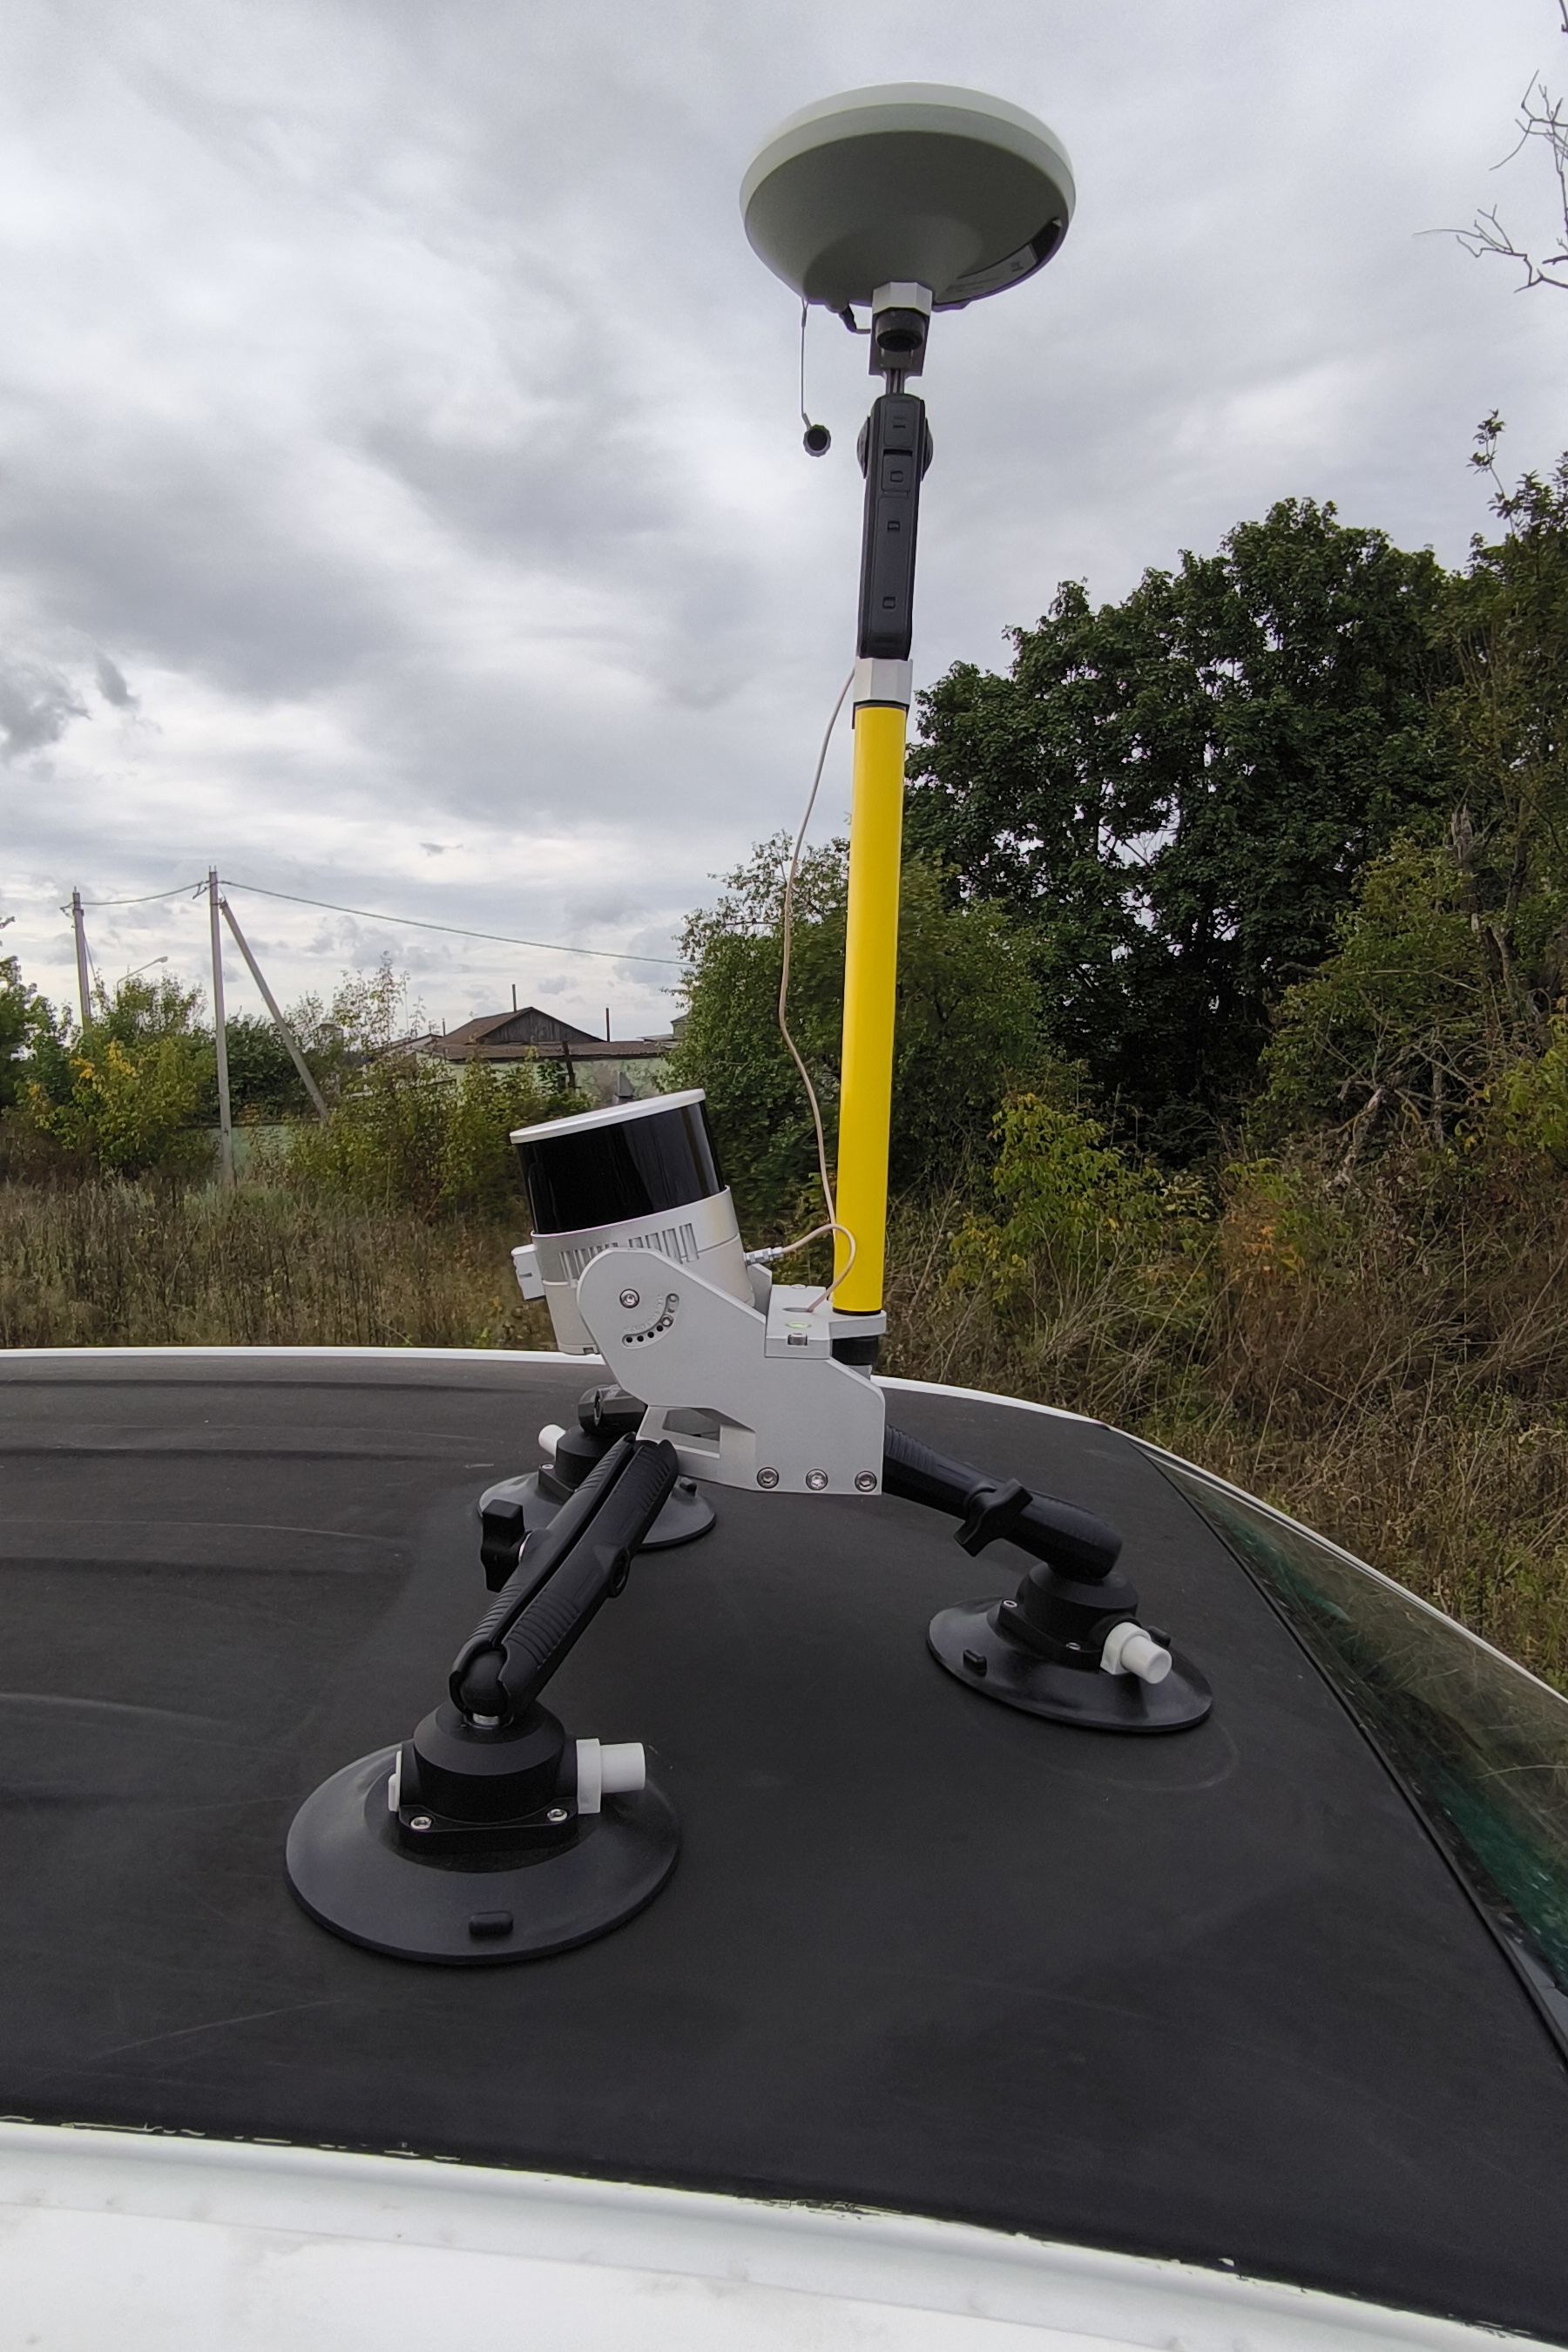
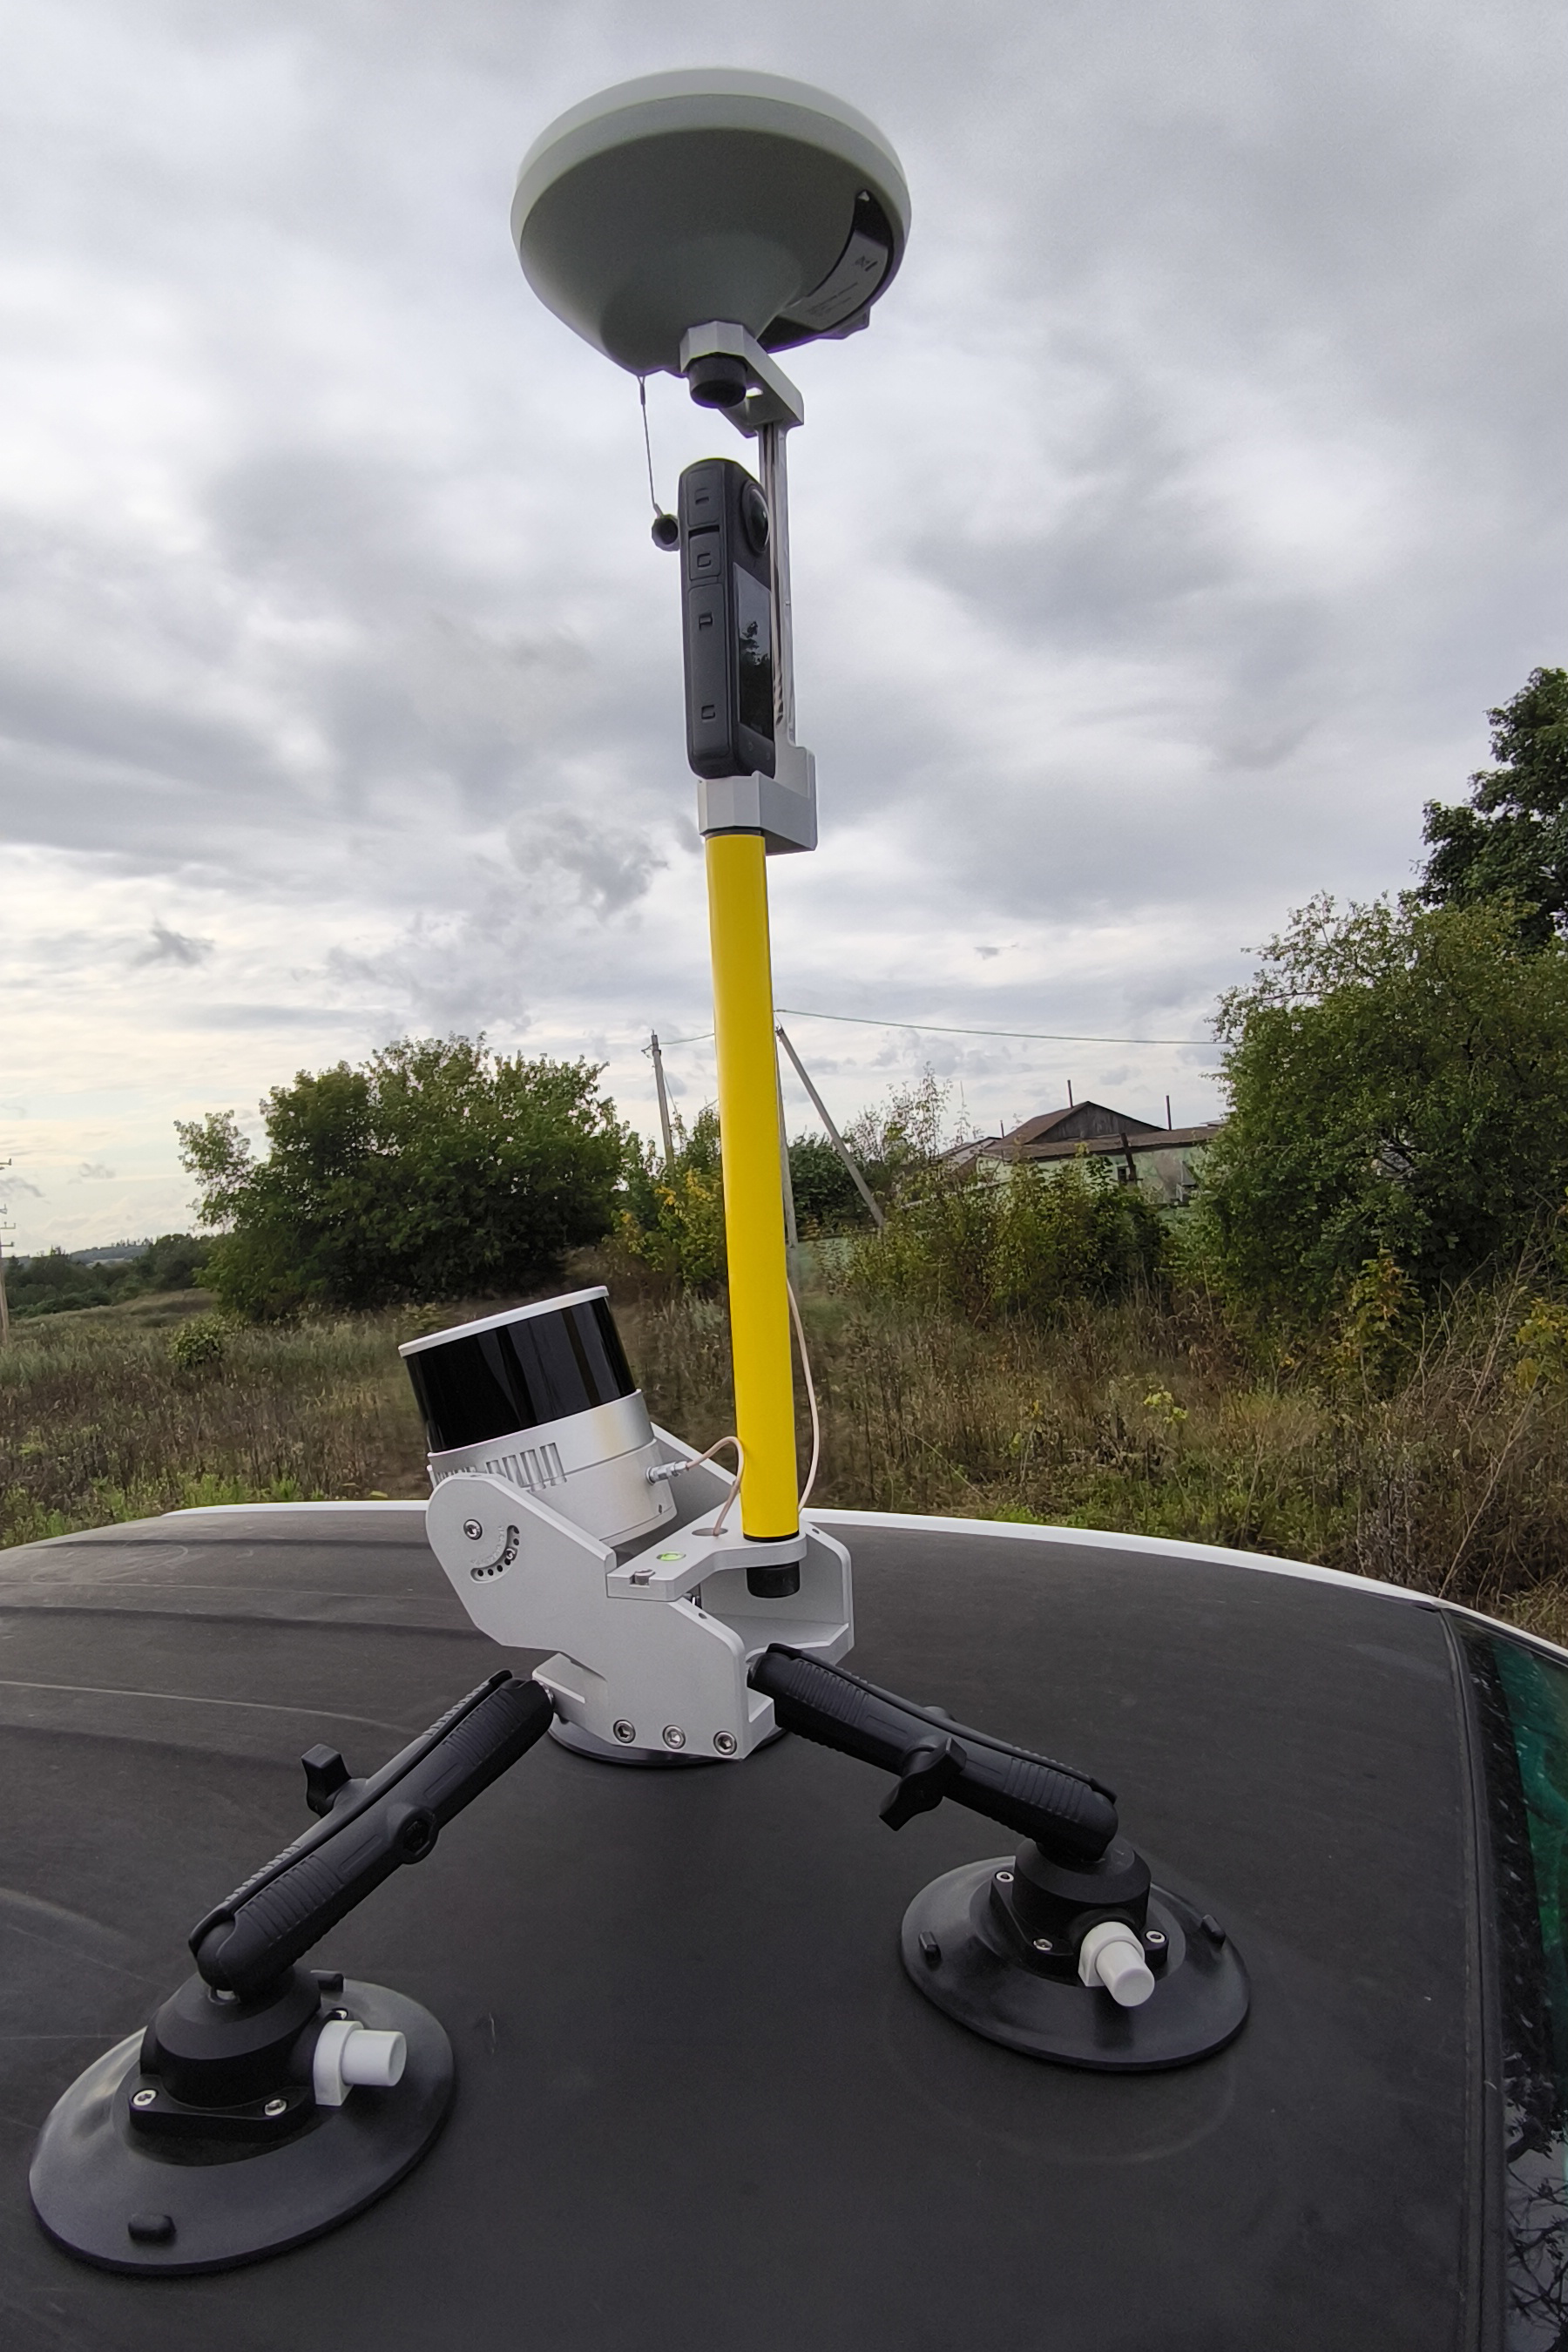
- Camera orientation: Position the camera so that the optical axis of the lens located on the display side is aligned with the direction of travel of the scanning system.
2. Mount the bracket on the pole.
- Screw the bracket with the attached camera onto the geodetic pole.
3. Install the GNSS antenna.
- Place the geodetic GNSS antenna on top of the bracket and secure it with the standard mounting screw.
- Connect the antenna cable.
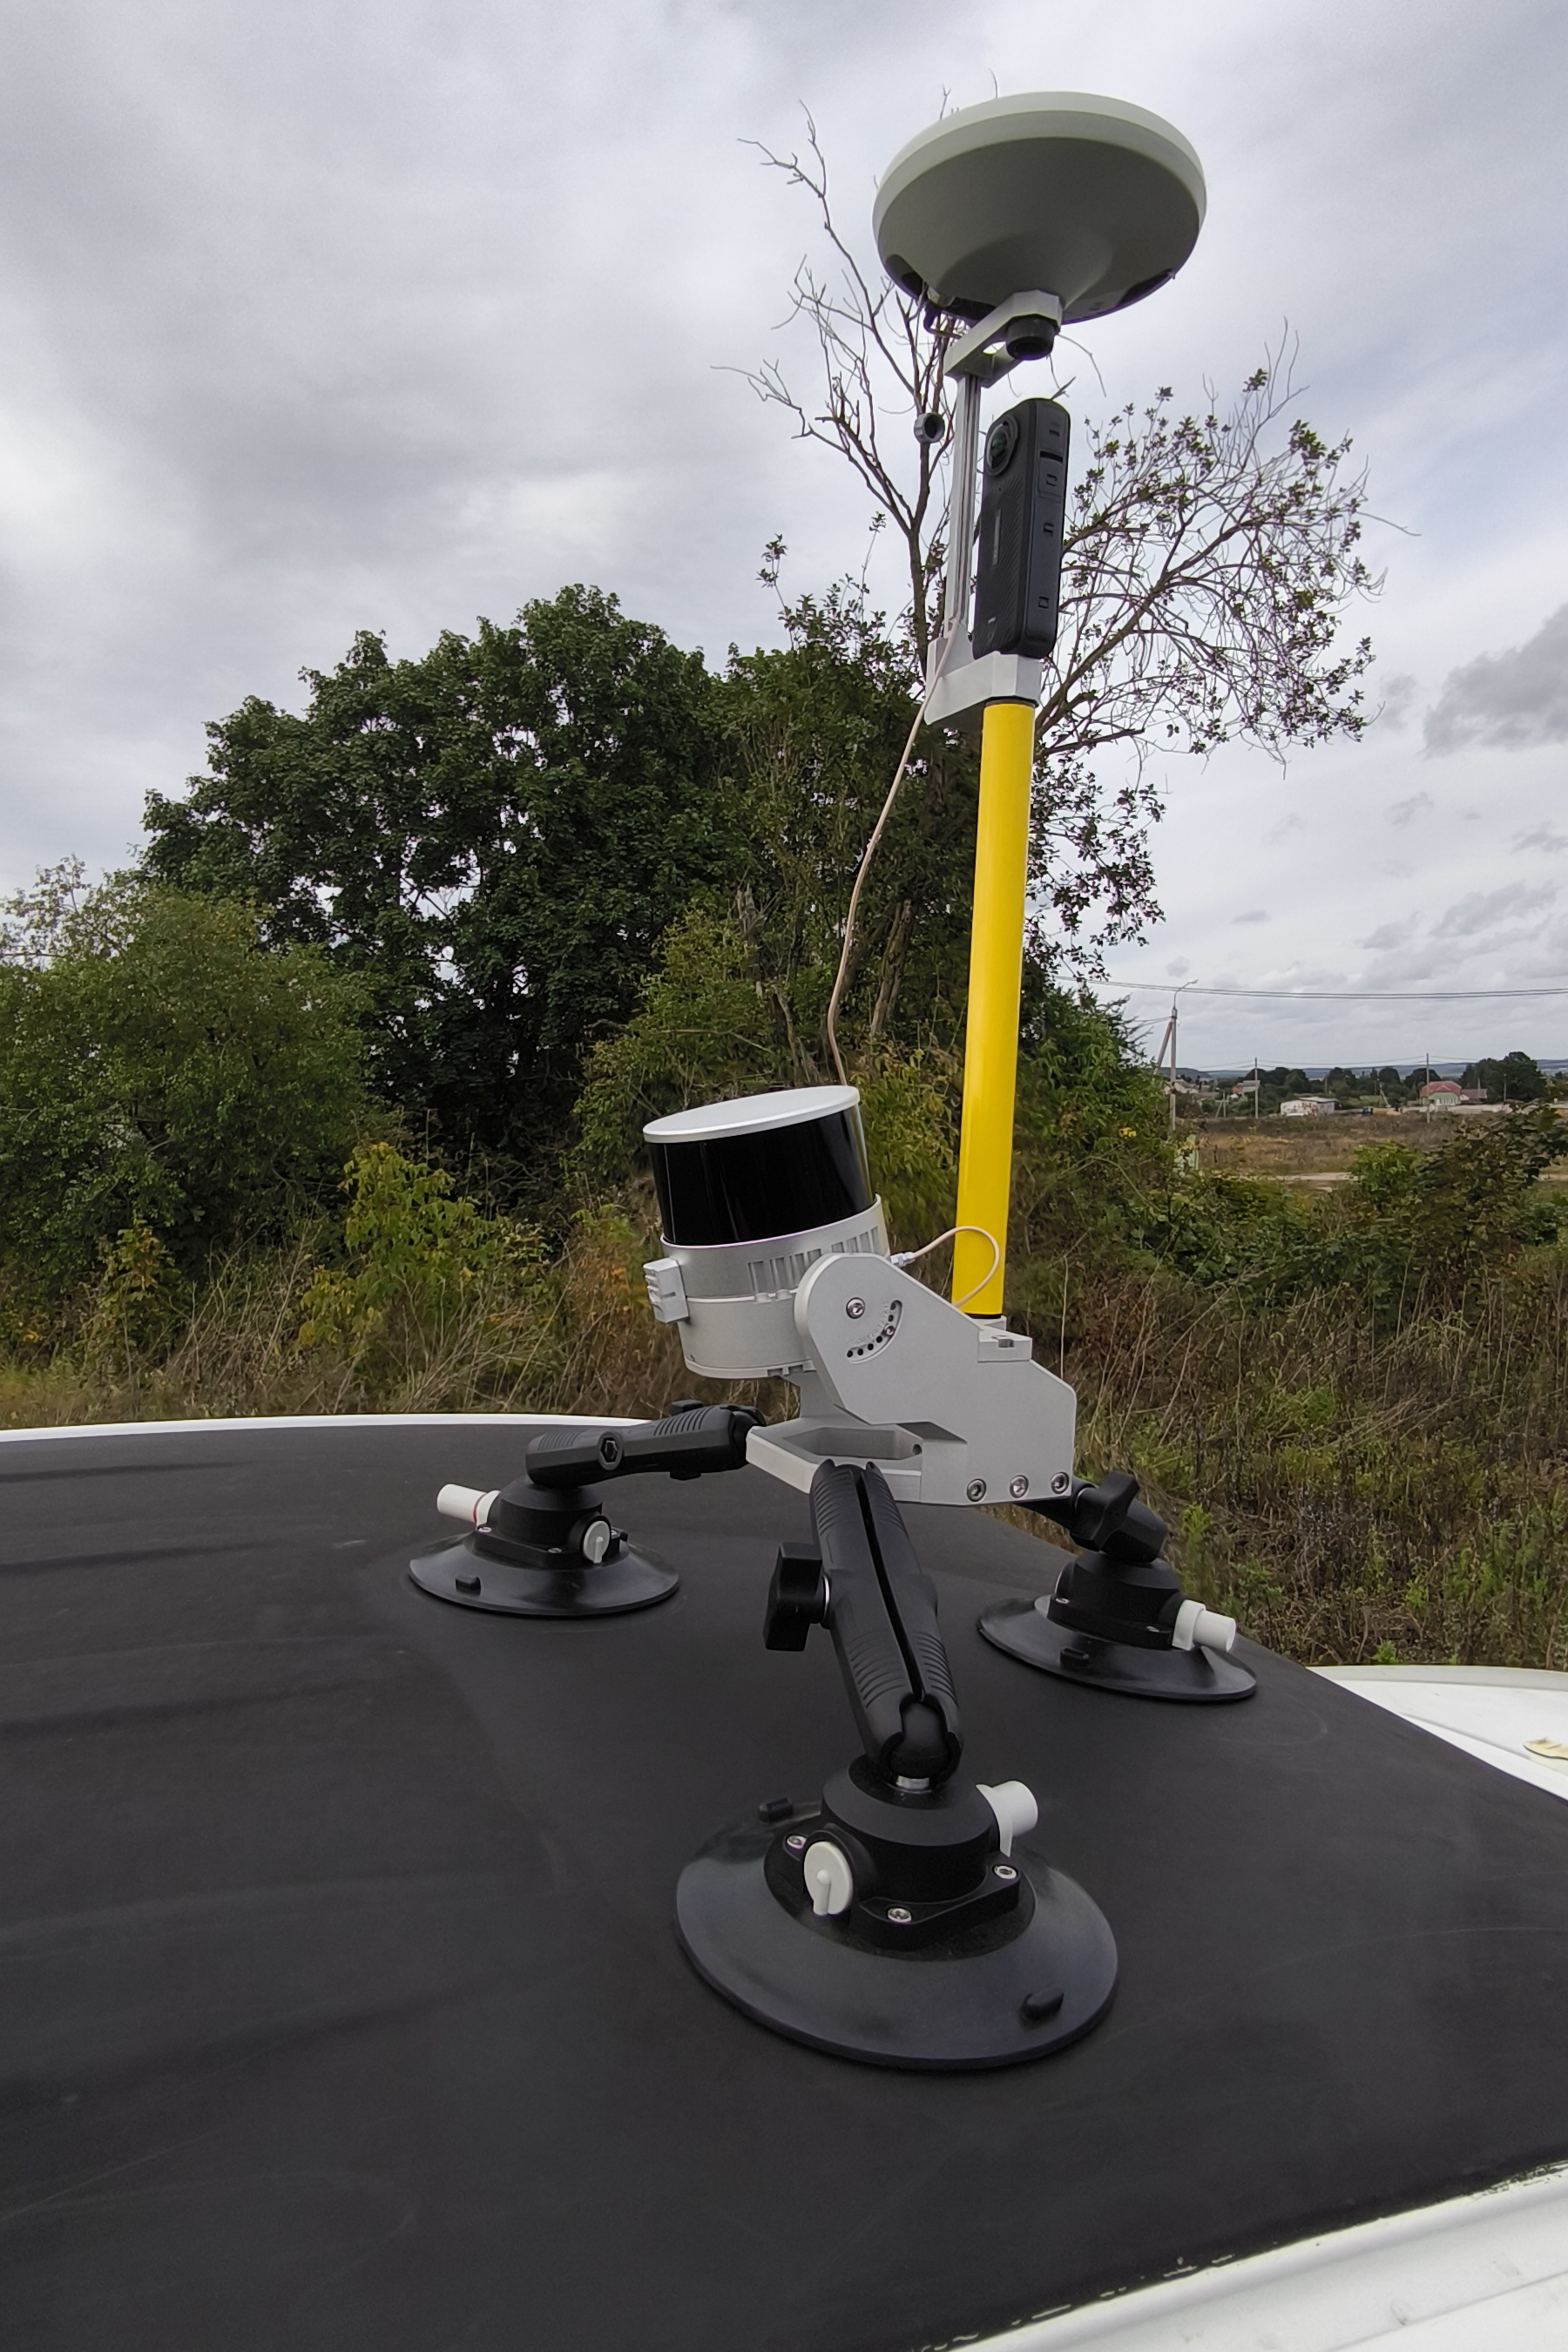
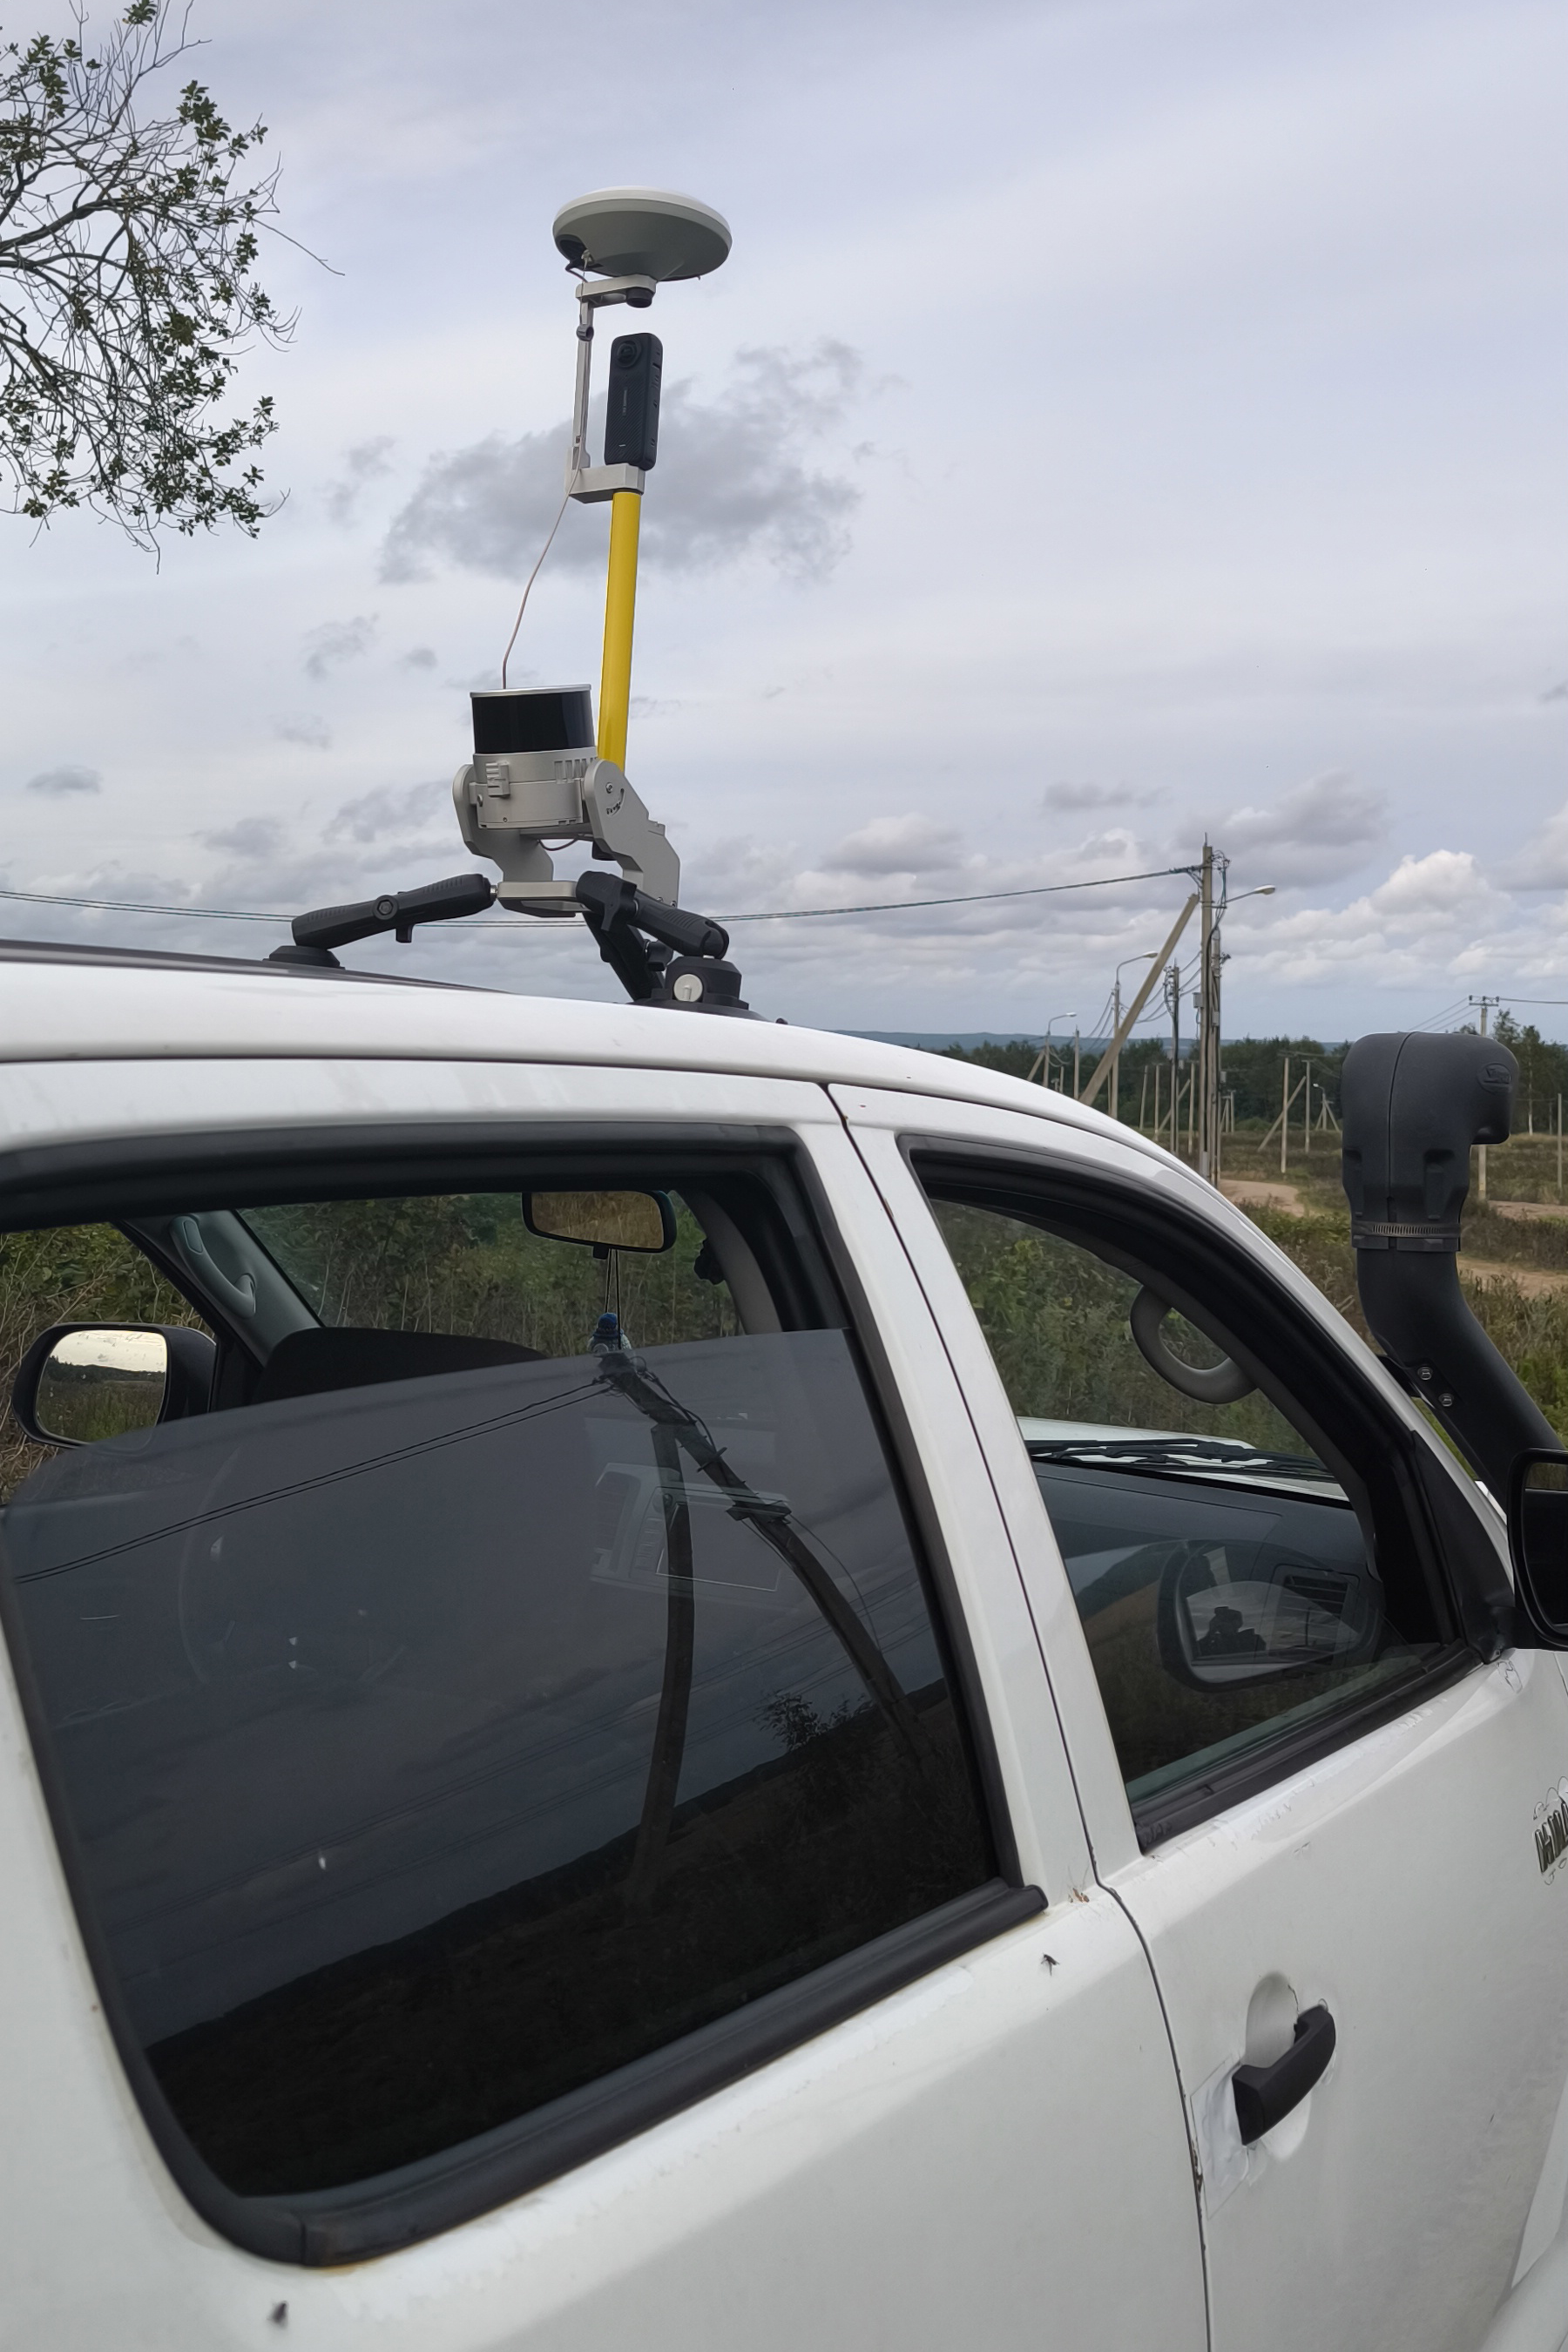
Insta 360 X4 Camera Settings
Before installing the camera into the bracket and starting data collection, remove all additional accessories from the camera, such as protective cases and lens covers. The presence of any foreign objects on the camera leads to data defects and is not permitted.
The camera configuration parameters are provided in the table below.
| Setting | Setting value | Setting value |
| Data acquiring mode | Video 360° | Timelapse 360° |
| Scene selection mode | MegaView | - |
| Resolution | 5.7K | 5.7K |
| Frame Rate | 30 | 30 |
| Interval | - | 0.5 |
Data Collection Methodology
The field work procedure is as follows:
- Assemble the mobile kit with the TOPODRONE laser scanner and camera.
- Install the mobile kit on the vehicle.
- Turn on the laser scanner, wait for data recording to begin, then turn on the camera and start video recording.
- Perform a calibration maneuver and proceed with data collection in the survey area.
- After completing the survey route, turn off the scanner and the camera.
You can learn more about the mobile laser scanning methodology on the page: Mobile Laser Scanning (MLS)