The following components and tools will be required for installation:
| Version 1, powered by SkyPort connector TOPODRONE laser scanner Mounting platform with dampers "Dovetail" mount Set of fixing screws M3x6 - 4 pcs. Set of fixing screws M4x10 - 2 pcs.. Set of fixing screws M3x8 - 4 pcs. Set of fixing screws M3x10 - 2 pcs. Helix antenna Cable LEMO 6 PIN - SkyPort Spider antenna mount with cable USB Type-C OTG Adapter USB Type-C / USB flash drive Thread lock “Blue ”* 2.5mm hex screwdriver* 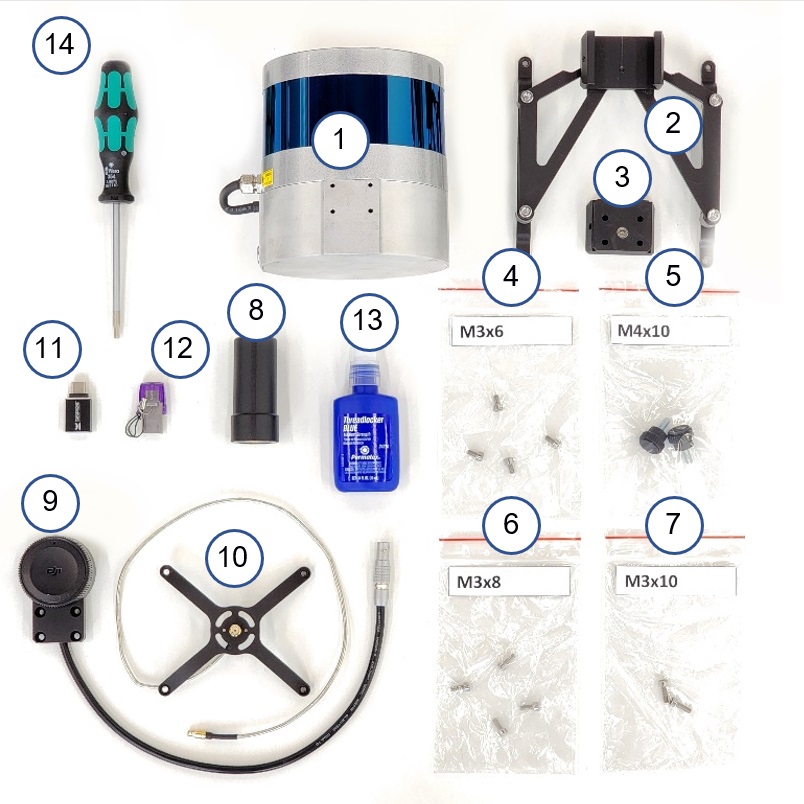 | Version 2, powered by Type-C connector TOPODRONE laser scanner Mounting platform with dampers "Dovetail" mount Set of fixing screws M3x6 - 4 pcs. Set of fixing screws M4x10 - 2 pcs.. Set of fixing screws M3x8 - 4 pcs. Set of fixing screws M3x10 - 2 pcs. Helix antenna Cable LEMO 6 PIN - SkyPort Spider antenna mount with cable USB Type-C OTG Adapter USB Type-C / USB flash drive Thread lock “Blue ”* 2.5mm hex screwdriver* Phillips screwdriver* Hexagonal screwdriver 1.5 mm* 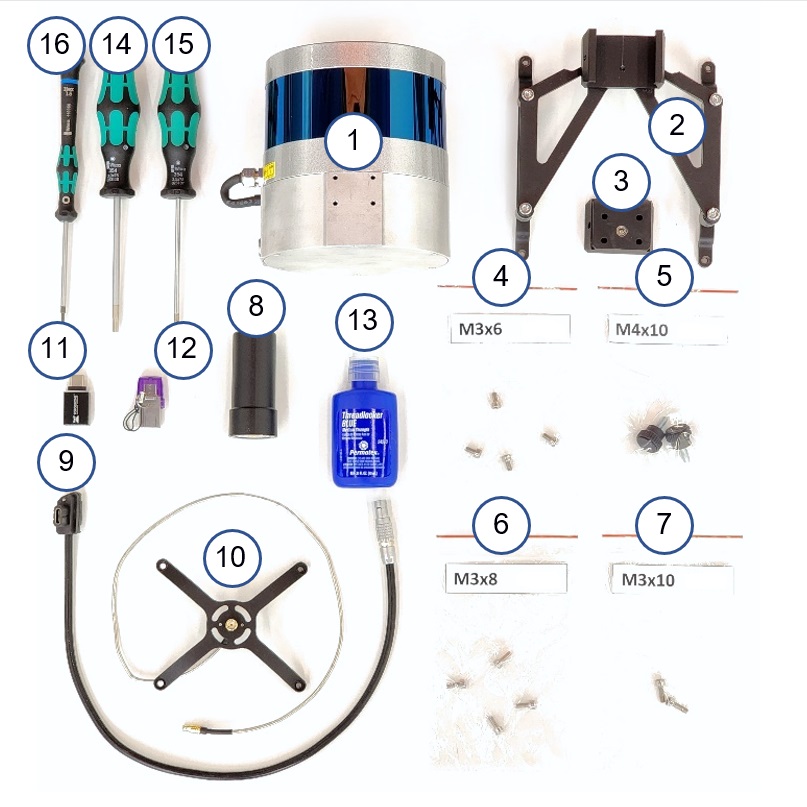 |
- Not included with the TOPODRONE laser scanner.
Step 1. Remove the polyurethane lodgement base of the drone from the case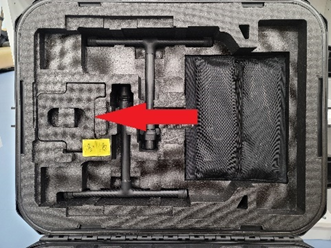 | Step 2: Install the polyurethane lodgement harness on the drone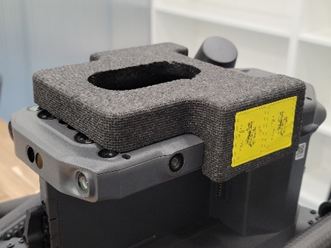 | Step 3: Turn the DJI M300 drone upside down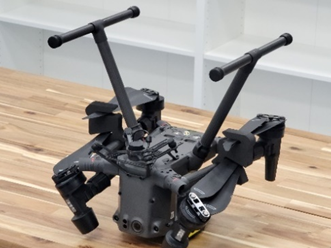 |
Step 4. Remove the two black screws with a Hex 2.5mm screwdriver and set them aside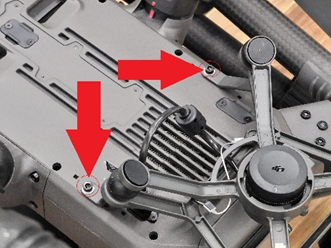 | Step 5: Install the mounting pad on the drone`s bottom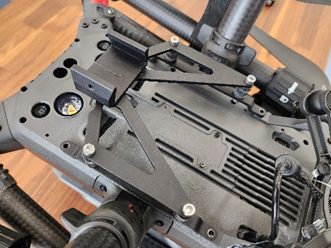 | Step 6: Screw in the 2 M3 x 10 screws with a 2.5 mm Hex screwdriver.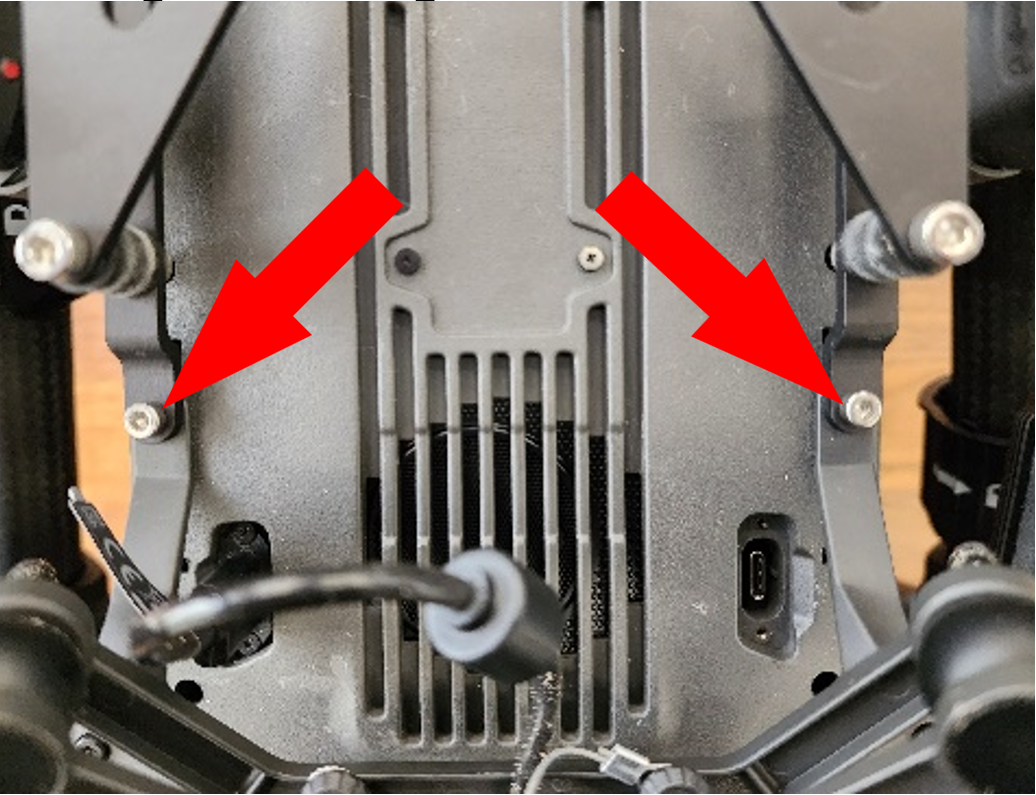 |
Important! Use thread locker for this step! Tighten the screws firmly when installing.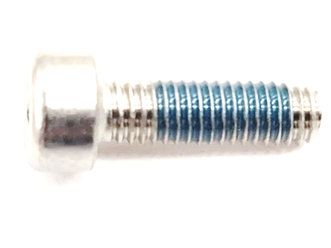 | Step 7: Using a Hex 2.5mm screwdriver, screw in the 2 black screws from step 4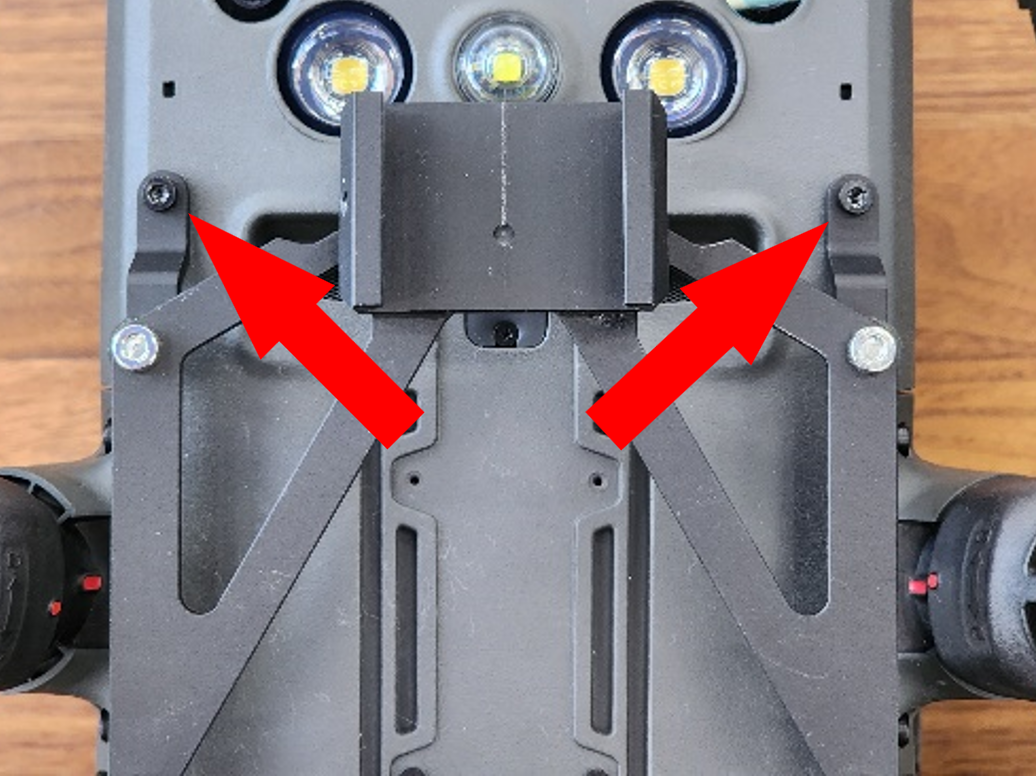 | Important! Use thread locker for this step! Tighten the screws firmly when installing.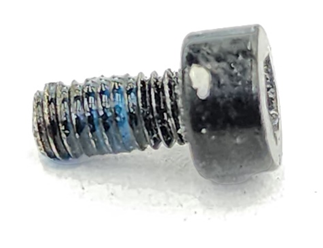 |
Step 8. (Version.1). Remove the cover from the SkyPort connector of the LEMO 6 PIN to SkyPort cable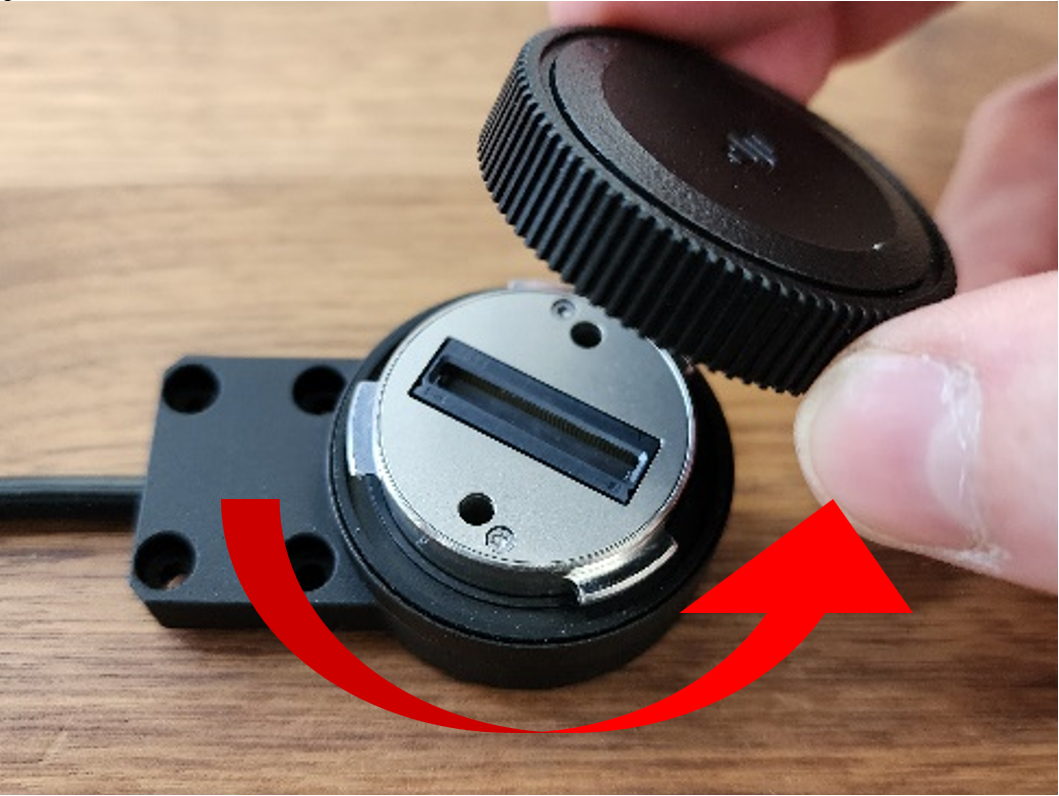 | Step 9. (Version 1). Remove the cover from the drone's SkyPort connector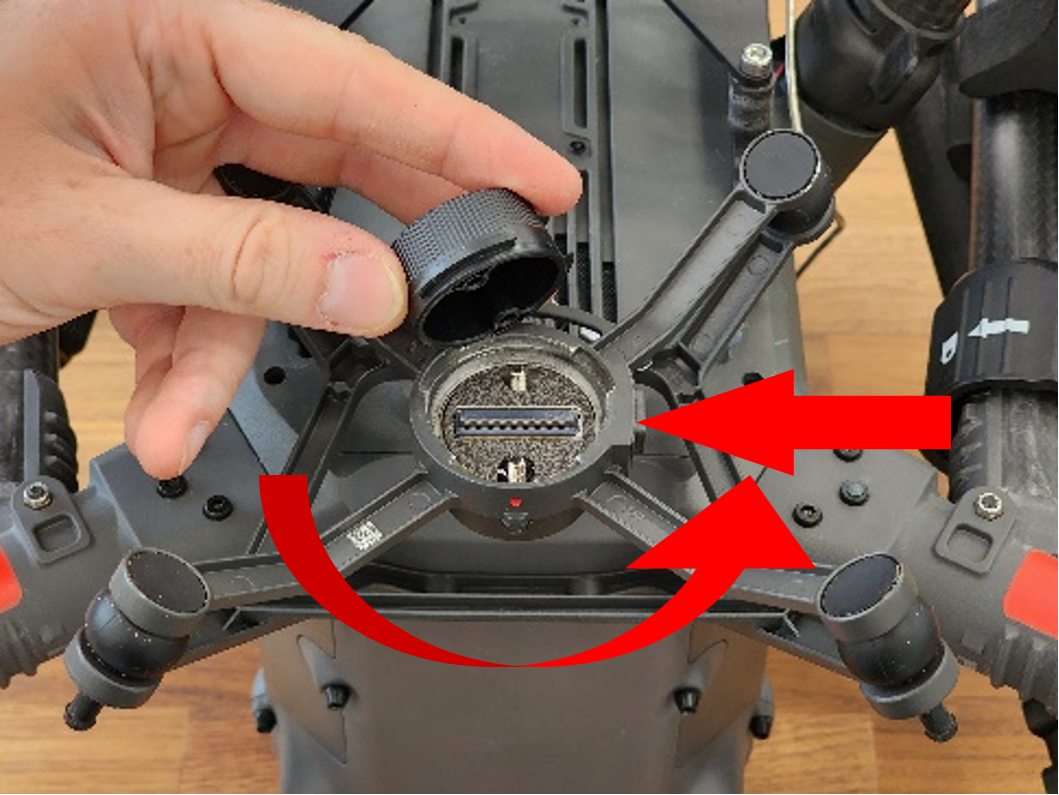 | Step 10. (Version 1). Connect the cable to the SkyPort connector of the drone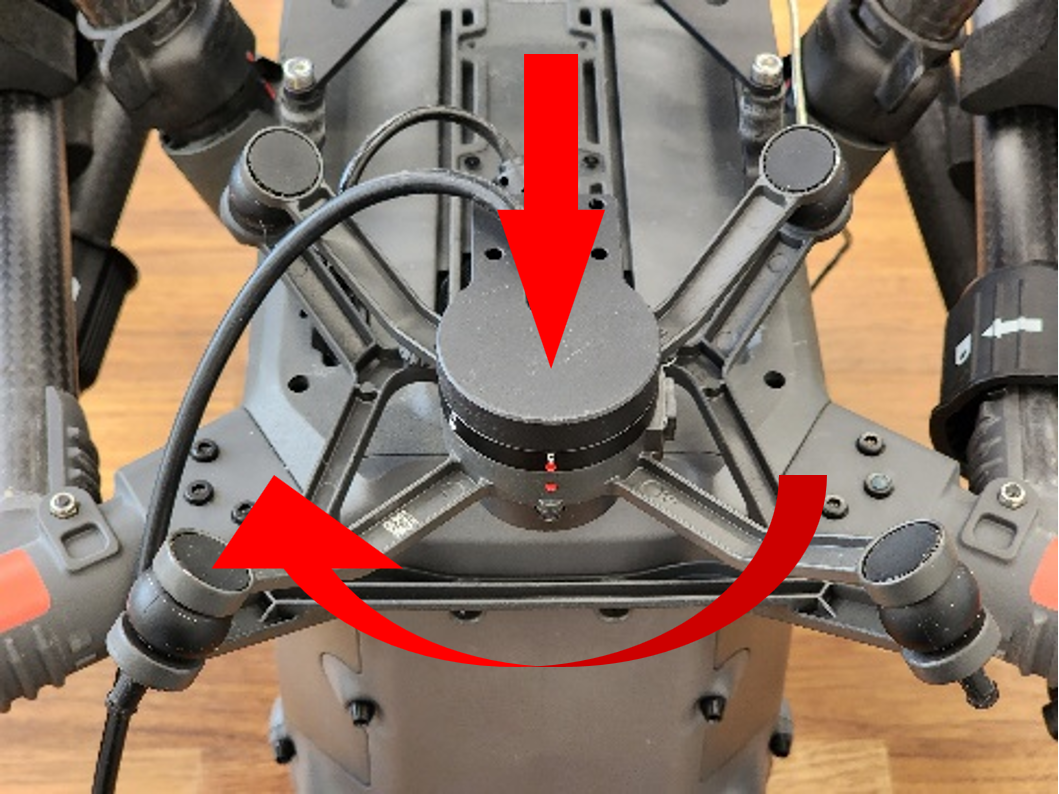 |
Step 8. (Version.2). Remove the 2 screws of the USB Type-C cover with a Phillips screwdriver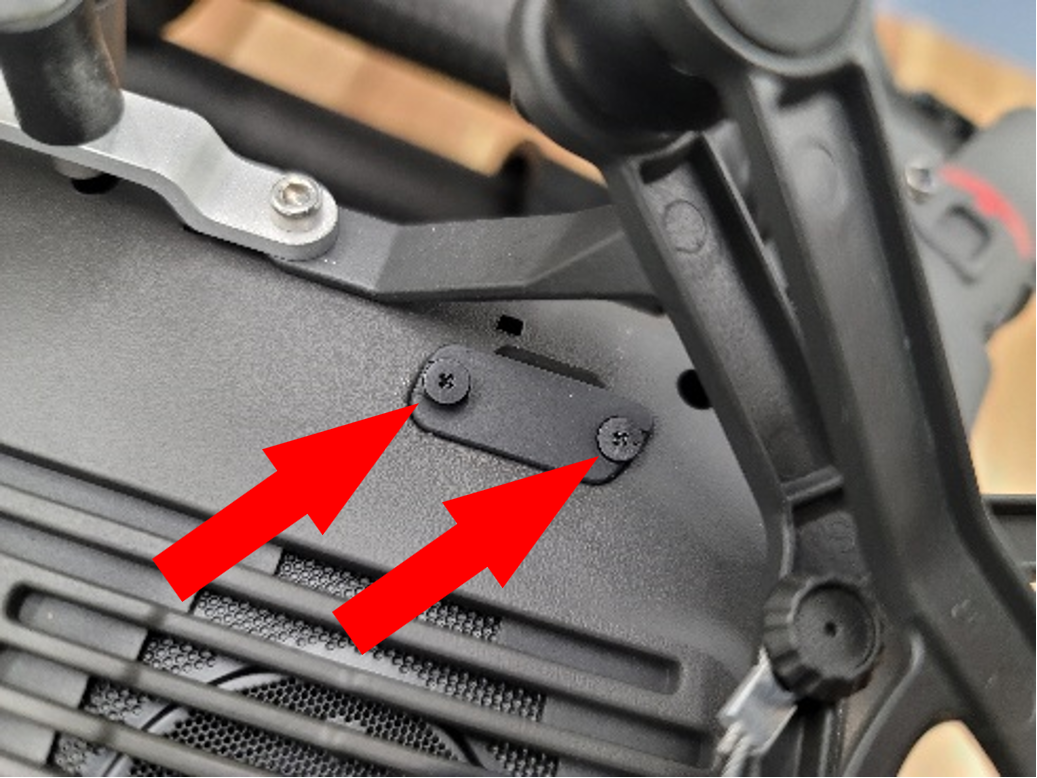 | Step 9 (Version 2). Install the USB Type-C connector of the cable into the drone, following the key pattern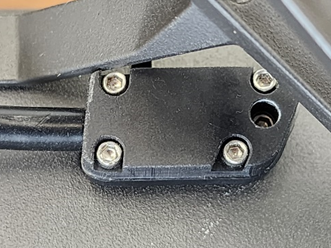 | Step 10 (Version 2). Using a 1.5 mm hex screwdriver, tighten the retaining screw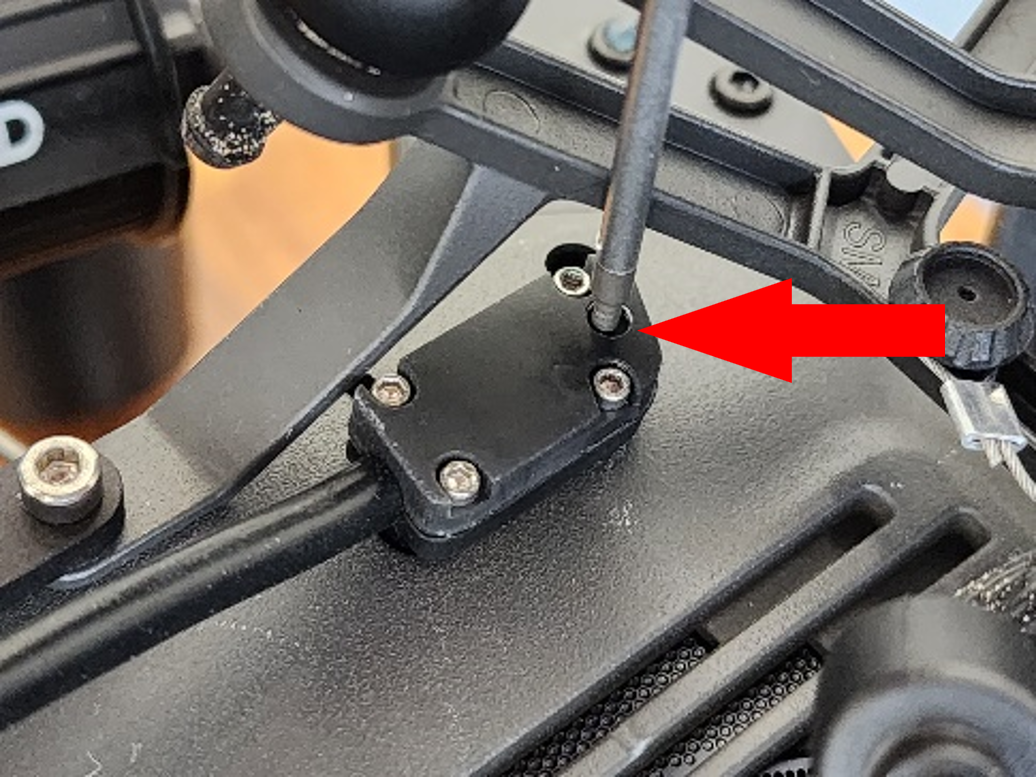 |
Step 11. Turn the DJI M300 RTK upside down and remove the polyurethane lodgement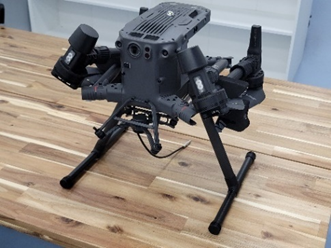 | Step 12: Install the antenna spider mount to the top of the drone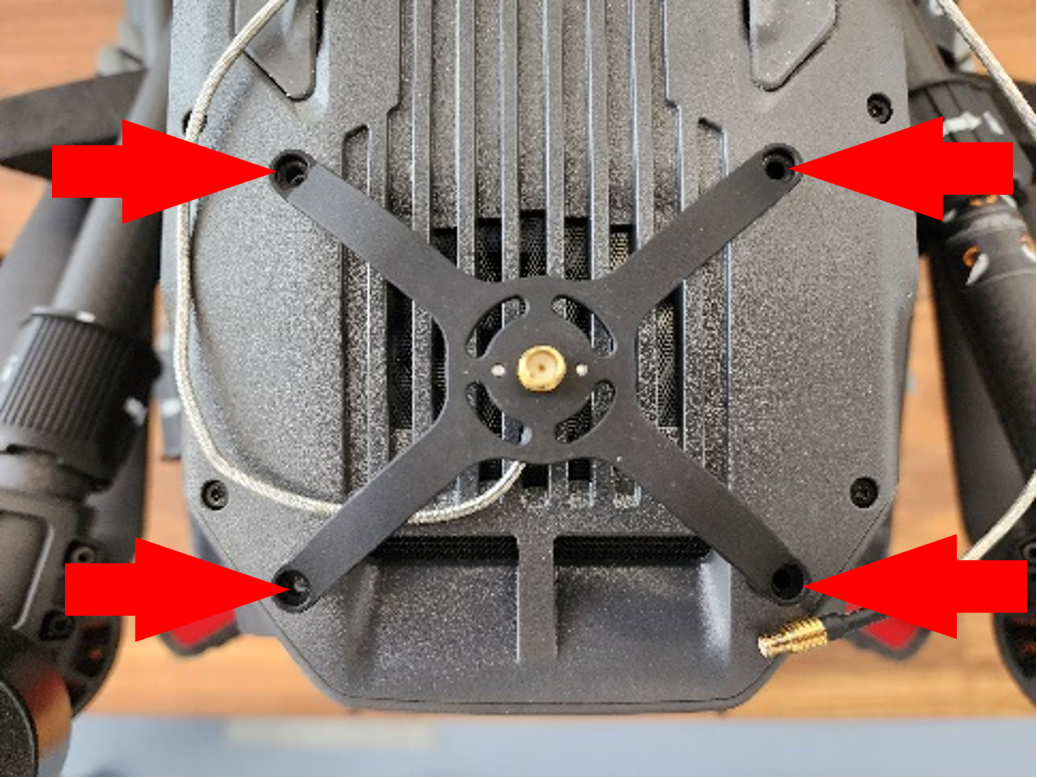 | Step 13. Secure the mount using M3x6 screws and a Hex 2.5 mm screwdriver.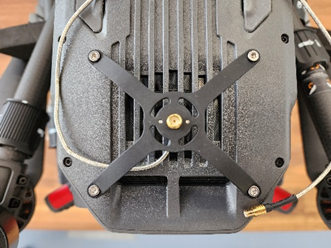 |
Important! Use thread locker for this step! Tighten the screws firmly when installing.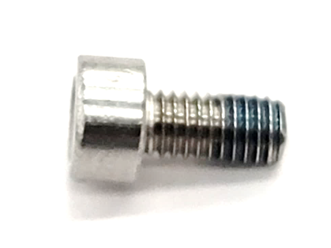 | Step 14. Route the cable along the enclosure as shown in the photo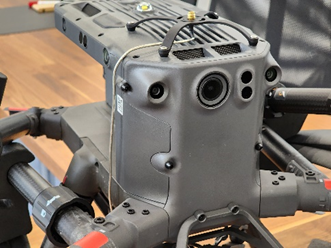 | Step 15: Place the TOPODRONE laser scanner on the drone's polyurethane foam carrier, with the antenna connector on top of it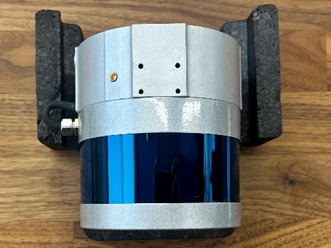 |
Step 16. Install the "dovetail" mount and tighten with M3x8 screws using a screwdriver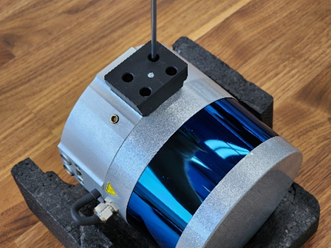 | Important! Use thread locker for this step! Tighten the screws firmly when installing.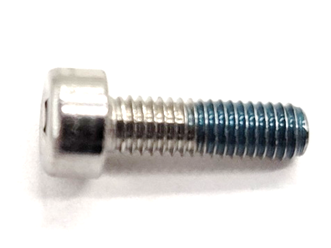 | Step 17. Mount the TOPODRONE laser scanner on the quick-release mount.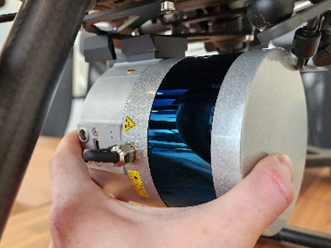 |
It is recommended to mount the laser scanner from front to back.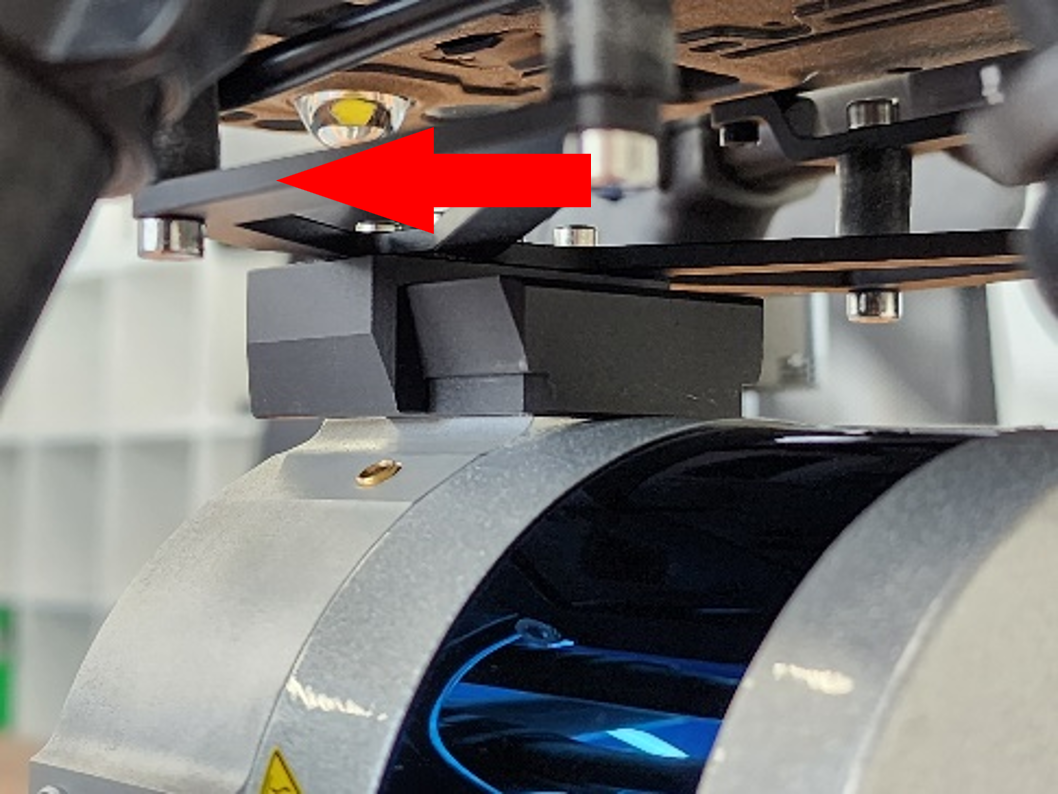 | Step 18. Screw in the retaining screw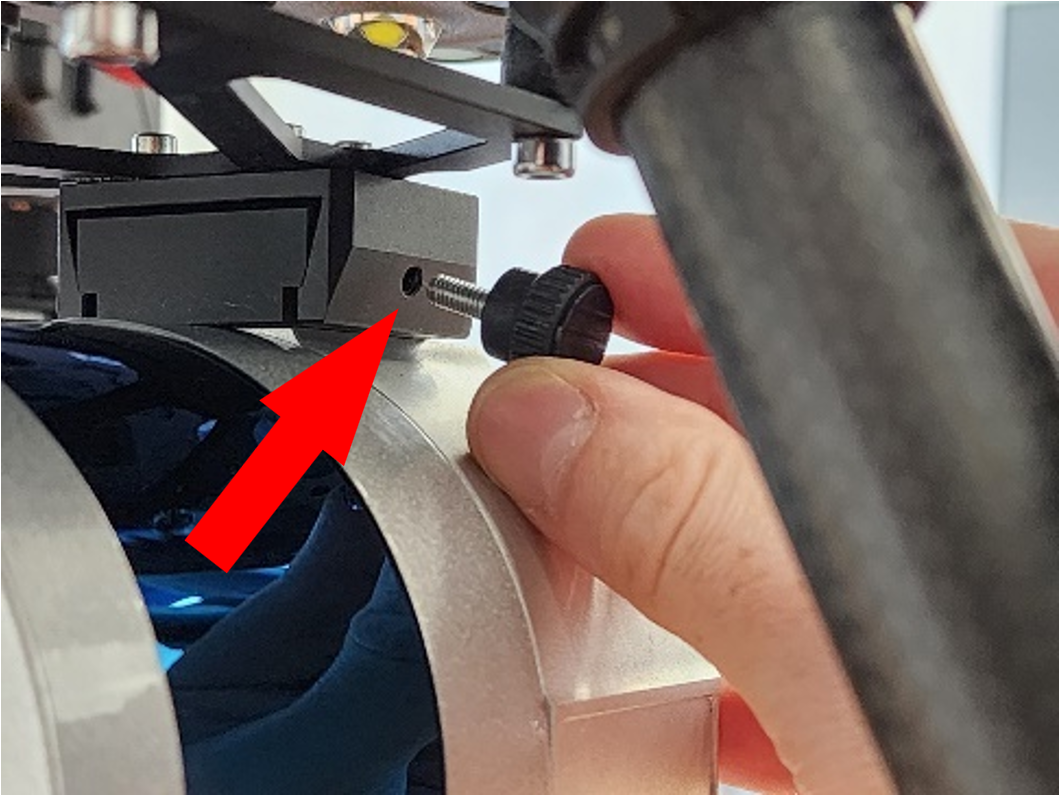 | Step 19. The screw should be tightened firmly, but without excessive force.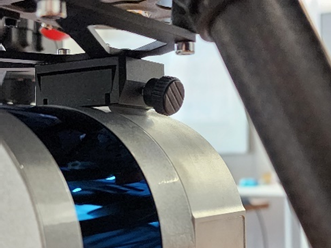 |
Step 20. Connect the antenna connector to the laser scanner.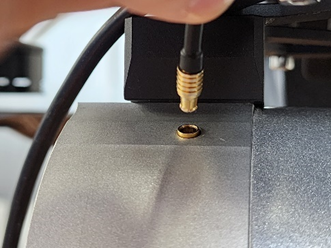 | After connecting the antenna connector, it should look like in the photo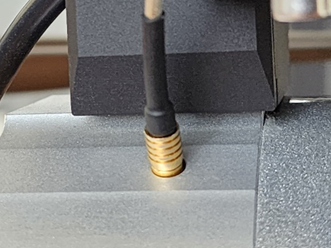 | Step 21. Plug the LEMO power connector into the appropriate port.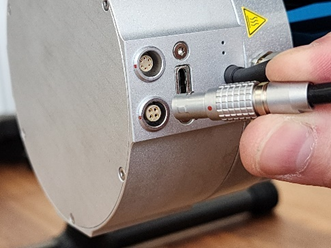 |
Once the power connector is plugged in, it should look like the one in the photo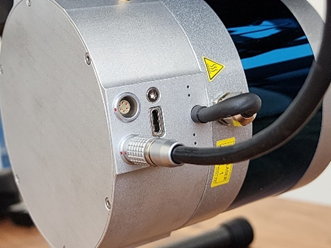 | Step 22. Screw the GNSS antenna onto the spider mount connector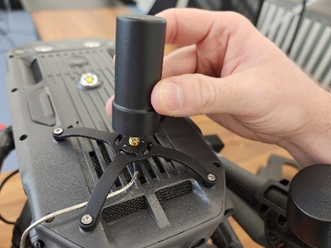 | The GNSS antenna should be screwed in tightly, but without excessive force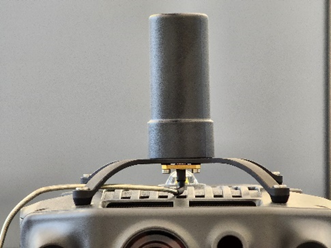 |
Step 23: To avoid losing the protective caps you can join them together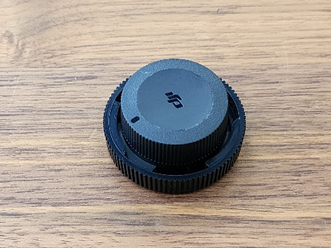 | Step 24. Drone assembly with TOPODRONE laser scanner looks like this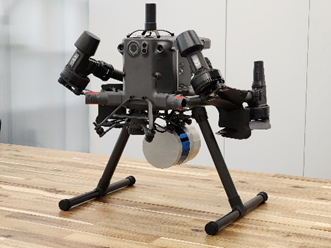 | Aerial laser scanning can begin.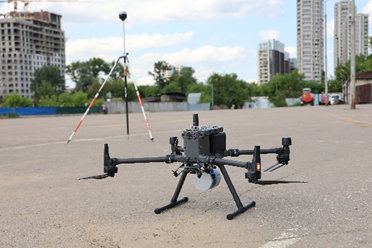 |
* Due to partial overlapping of sensors, the use of the lower visual positioning system with the TOPODRONE laser scanner installed is not recommended. It is recommended to land the drone in manual mode when conducting ALS to reduce shock effects on the landing gear and TOPODRONE during landing. The manufacturer is not responsible for the stability of operation of the DJI M300 RTK drone with the lower visual positioning sensors turned on.