To install the TOPODRONE laser scanner on your DJI M200, you will need the following components included in the package:
- TOPODRONE laser scanner;
- Mounting bracket and mating part;
- A set of mounting screws;
- Alcohol wipe;
- Power adapter and Helix antenna.
Step 1: Using a Hex 1.5 screwdriver, remove the 2 screws on the bottom of the DJI M200 drone.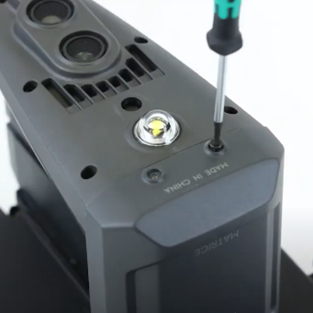 | Step 2: Wipe the sides of the DJI M200 with an alcohol wipe.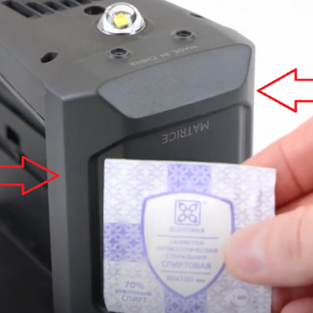 | Step 3: Peel off the protective films of the 3M adhesive tape and install the TOPODRONE laser scanner's U-mount.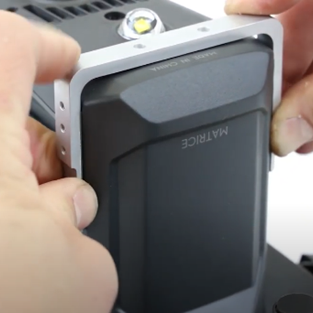 |
Step 4: Screw in the 2 M2x6 screws included in the kit using a Hex 1.5 screwdriver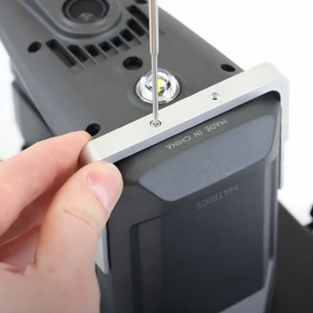 | Step 5: Firmly press the U-mount on both sides where the double-sided 3M tape is attached.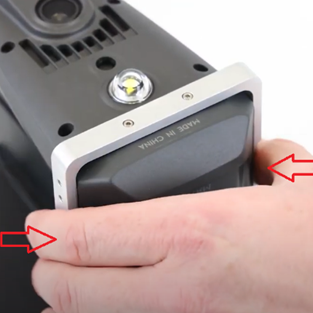 | Step 6. Screw the 4 screws of the M3x10 mount mating part tightly onto the TOPODRONE laser scanner using a HEX 2 screwdriver.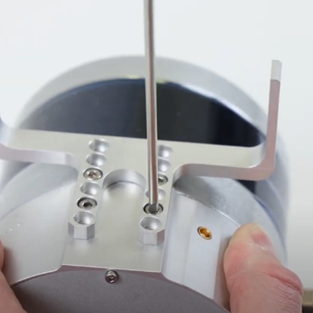 |
Step 7: Place the TOPODRONE laser scanner on the U-mount as shown in the photo.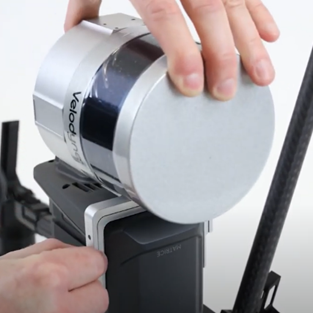 | Step 8: Fasten the TOPODRONE laser scanner with the screws as shown in the photo.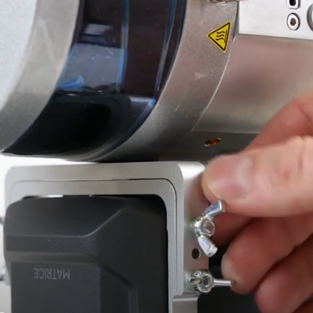 | Step 9: Plug the TOPODRONE laser scanner's power adapter into the Sky-Port connector.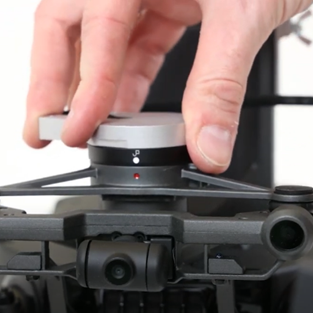 |
Step 10. Connect the Lemo 4 pin power cable to the TOPODRONE LiDAR.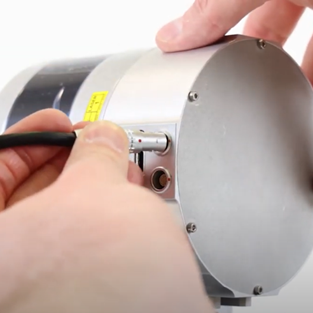 | Step 11. Connect the antenna connector to the TOPODRONE LiDAR.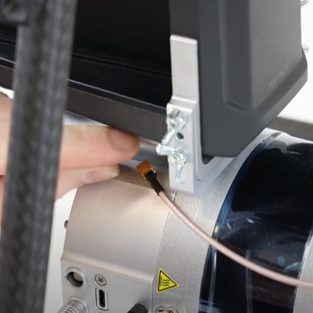 | Step 12. Screw the Helix antenna on tightly.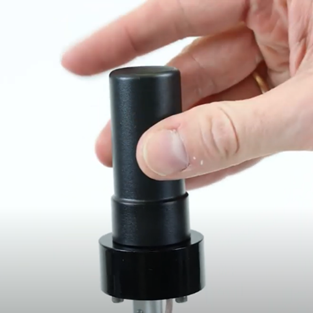 |